ADVERTISEMENT
Zabbix is an open-source enterprise-ready monitoring tool for servers, network devices, and other IT components. Since the Zabbix is enterprise-ready, you can use it for monitoring the environments ranging from small to larger.
Zabbix uses Zabbix Agent (client software) installed on the client-server to collect the data. It can also monitor standard services such as e-mail, web service without installing client software on the monitored devices.
Zabbix is released under the GPL license.
THIS DOCUMENT IS ALSO AVAILABLE FOR
Features of Zabbix
Contents
- Monitor system metrics like CPU, memory, disk space, network, and process (Requires Zabbix Agent).
- Monitor VMware vCenter, VMware hypervisor, and virtual machines.
- Automatically discover VMware hypervisor and virtual machines using low-level discovery.
- Monitor database servers – MySQL, PostgreSQL, Oracle, and Microsoft SQL Server.
- Zabbix has built-in Java application server monitoring.
- Monitor network devices with SNMP.
- Web services monitoring.
- Monitor hardware including temperature, fan speed, and disk state.
In this guide, we will see how to install Zabbix Server on CentOS 8 / RHEL 8.
System Requirements
Hardware
Zabbix Server requires at least 128MB memory and 256MB of disk space for the installation. However, the amount of required memory and disk space depends on the number of hosts, and parameters are being monitored.
2GB RAM and 2GB of disk space would be sufficient to monitor 500 hosts
Software
Apache: 1.3.12 or later
MySQL: 5.5 or 8.0.x / MariaDB: 10.0.3 or Later
PHP: 7.2.0 or later
Install Zabbix
Configure Zabbix repository
Zabbix packages are not available in the base OS repository. So, to get Zabbix packages, we need to install the Zabbix repository configuration package.
Zabbix 5.0 (LTS)
rpm -Uvh https://repo.zabbix.com/zabbix/5.0/rhel/8/x86_64/zabbix-release-5.0-1.el8.noarch.rpm
Zabbix 4.0 (LTS)
rpm -Uvh https://repo.zabbix.com/zabbix/4.0/rhel/8/x86_64/zabbix-release-4.0-2.el8.noarch.rpm
Install Zabbix Server
Use the yum command to install the Zabbix server with MySQL / MariaDB database support package as we are going to use MySQL / MariaDB database for our Zabbix installation.
Zabbix 5.0 (LTS)
dnf install -y zabbix-server-mysql zabbix-web-mysql zabbix-agent zabbix-apache-conf
Zabbix 4.0 (LTS)
dnf install -y zabbix-server-mysql zabbix-web-mysql zabbix-agent
Timezone
As a first task, we need to set TimeZone for the Zabbix frontend.
vi /etc/php-fpm.d/zabbix.conf
Update the below line with the correct timezone. Find more time zones from the official site.
php_value[date.timezone] = America/New_York
Database
Install MySQL or MariaDB
Install MariaDB or MySQL on your system.
READ: How To Install MariaDB On CentOS 8 / RHEL 8
OR
READ: How To Install MySQL On CentOS 8 / RHEL 8
For this post, I will use the MariaDB database that comes with the operating system.
ADVERTISEMENT
dnf install -y mariadb-server mariadb
Create Database
Start the MariaDB service.
systemctl start mariadb
Login to MariaDB and create the database and user for our Zabbix installation.
mysql -u root -p
Create a database with the following details.
DBName: zabbixdb
DBUser: zabbixuser
DBPassword: password
create database zabbixdb character set utf8 collate utf8_bin; grant all privileges on zabbixdb.* to zabbixuser@localhost identified by 'password'; quit;
After you created the database for the installation, import the initial schema into it.
cd /usr/share/doc/zabbix-server-mysql/ zcat create.sql.gz | mysql -u zabbixuser -p zabbixdb
Update Database Configuration
Edit the zabbix_server.conf file to set the database details.
vi /etc/zabbix/zabbix_server.conf
Make sure you set as follows.
DBHost=localhost
DBName=zabbixdb
DBUser=zabbixuser
DBPassword=password
SELinux
If you have SELinux enabled on your server, consider disabling SELinux to enable the successful connection of the Zabbix web frontend to the server.
setenforce 0 sed -i 's/SELINUX=enforcing/SELINUX=disabled/g' /etc/selinux/config
Firewall
Configure the firewall to allow the Zabbix agent to reach the Zabbix server.
firewall-cmd --permanent --add-port=10050/tcp firewall-cmd --permanent --add-port=10051/tcp firewall-cmd --permanent --add-port=80/tcp firewall-cmd --reload
Start Services
systemctl restart zabbix-server zabbix-agent httpd php-fpm
Enable the service to start automatically on system reboot.
systemctl enable zabbix-server zabbix-agent httpd mariadb
Setup Zabbix via Web Installer
Open up your web browser and point it to the following URL.
http://your-ip-add-ress/zabbix/
Follow the below steps to complete the Zabbix installation.
For both versions of Zabbix, the instructions are the same.
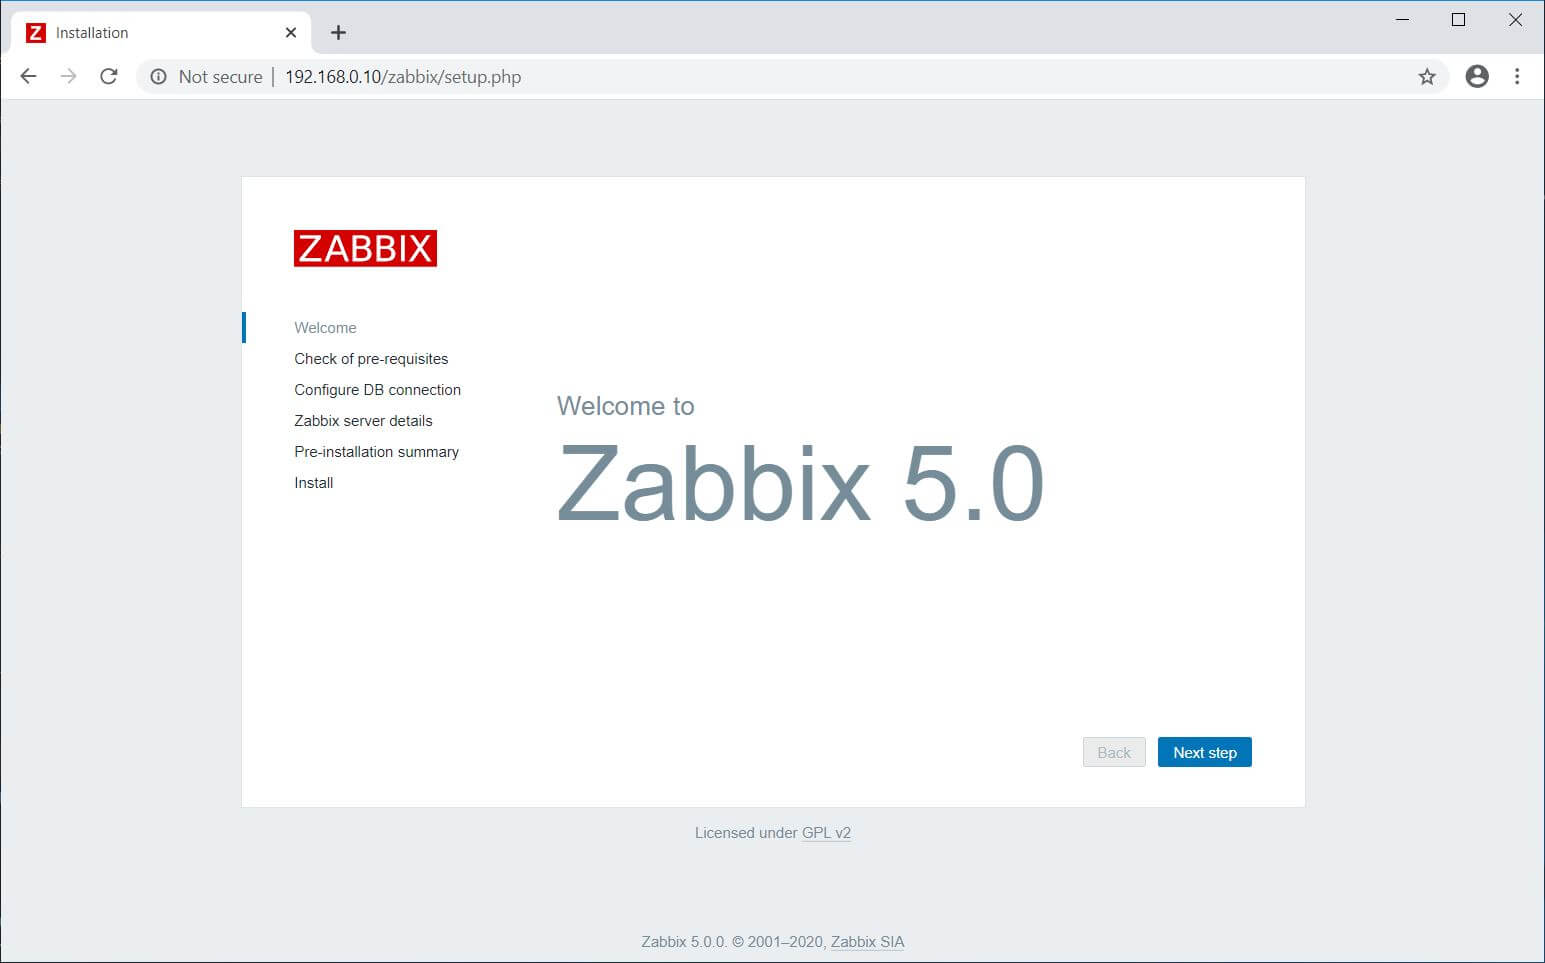
Click the Next Step on Zabbix welcome page.
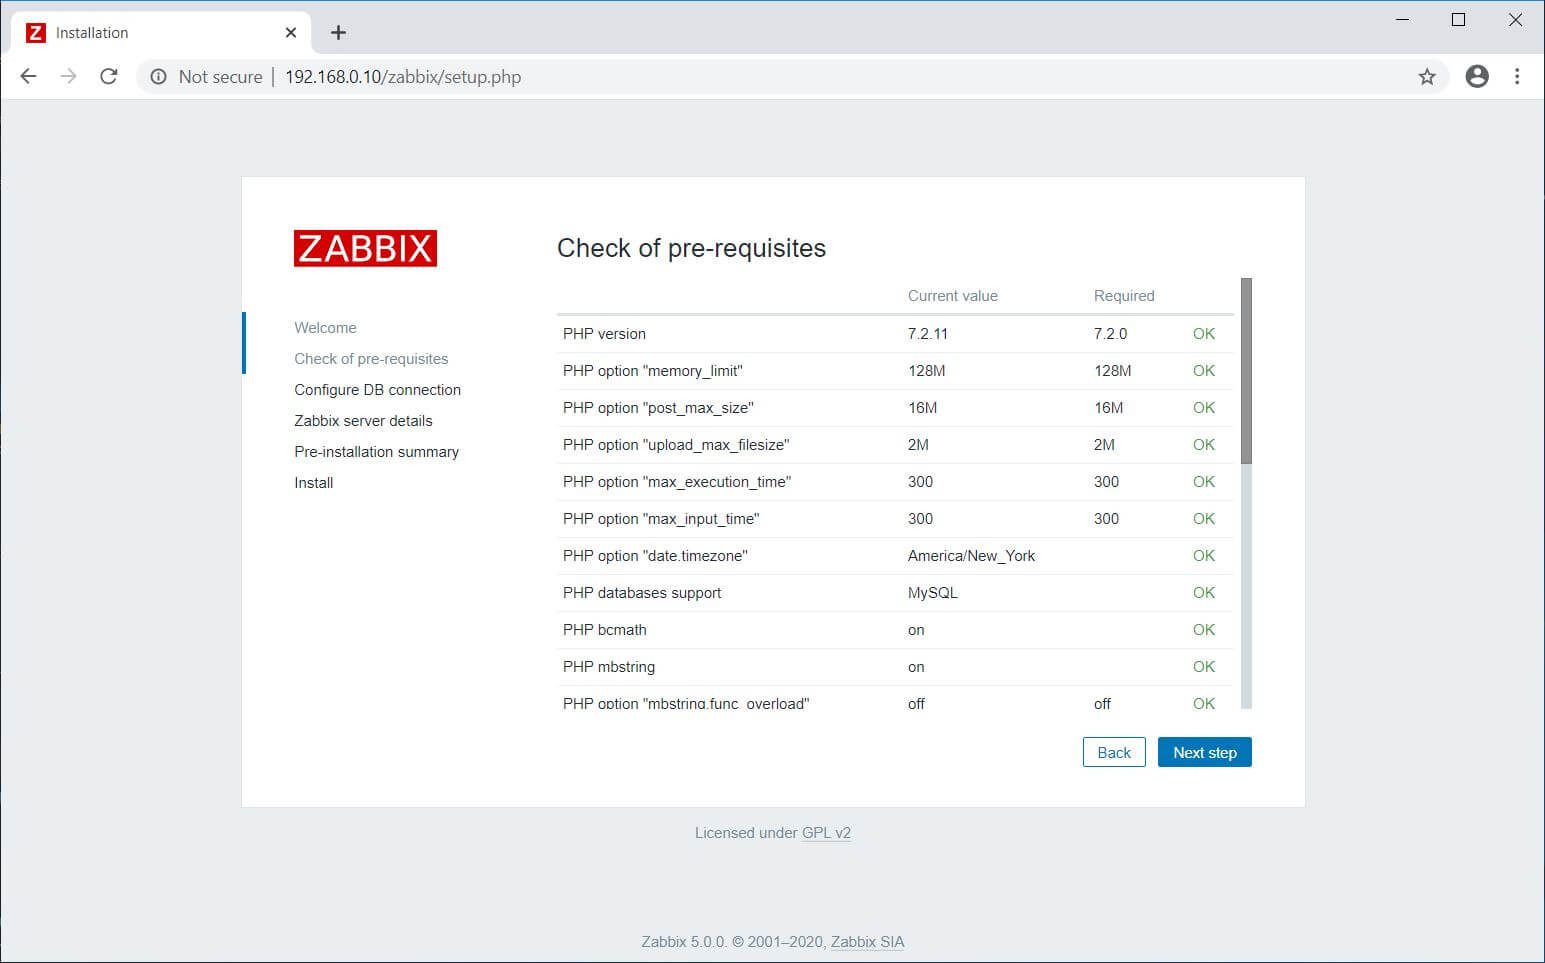
This step verifies if all pre-requisites are met for your Zabbix Installation. If there are any issues, you need to fix those. Then, click on the Next Step.
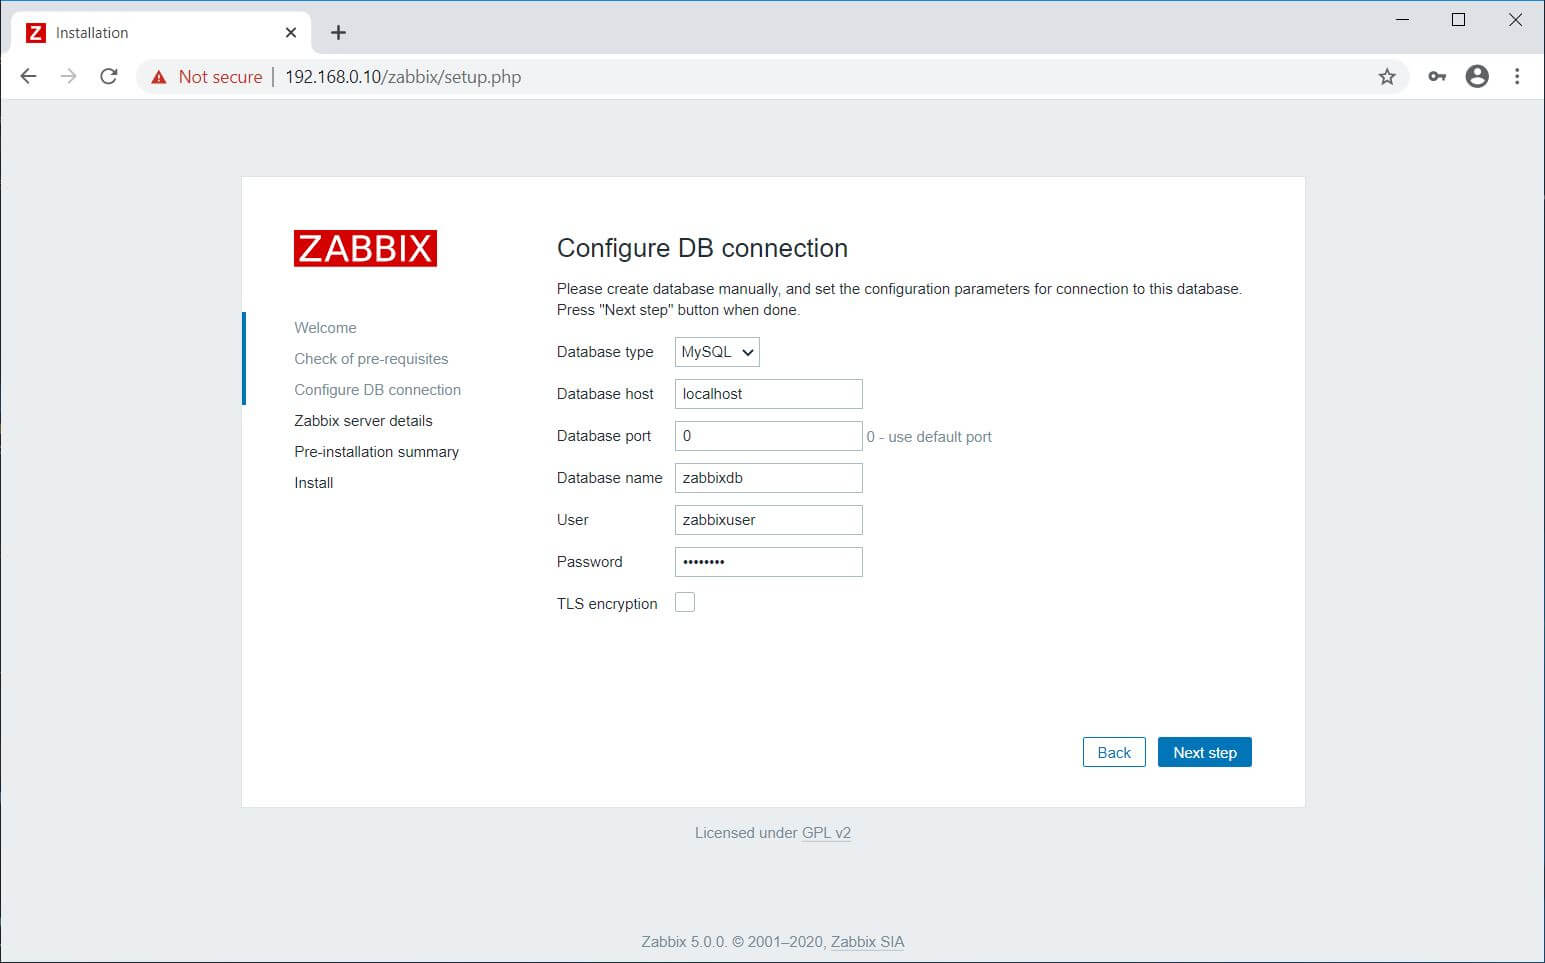
Update the Zabbix database name, DB user, and password and then click the Next Step.
ADVERTISEMENT
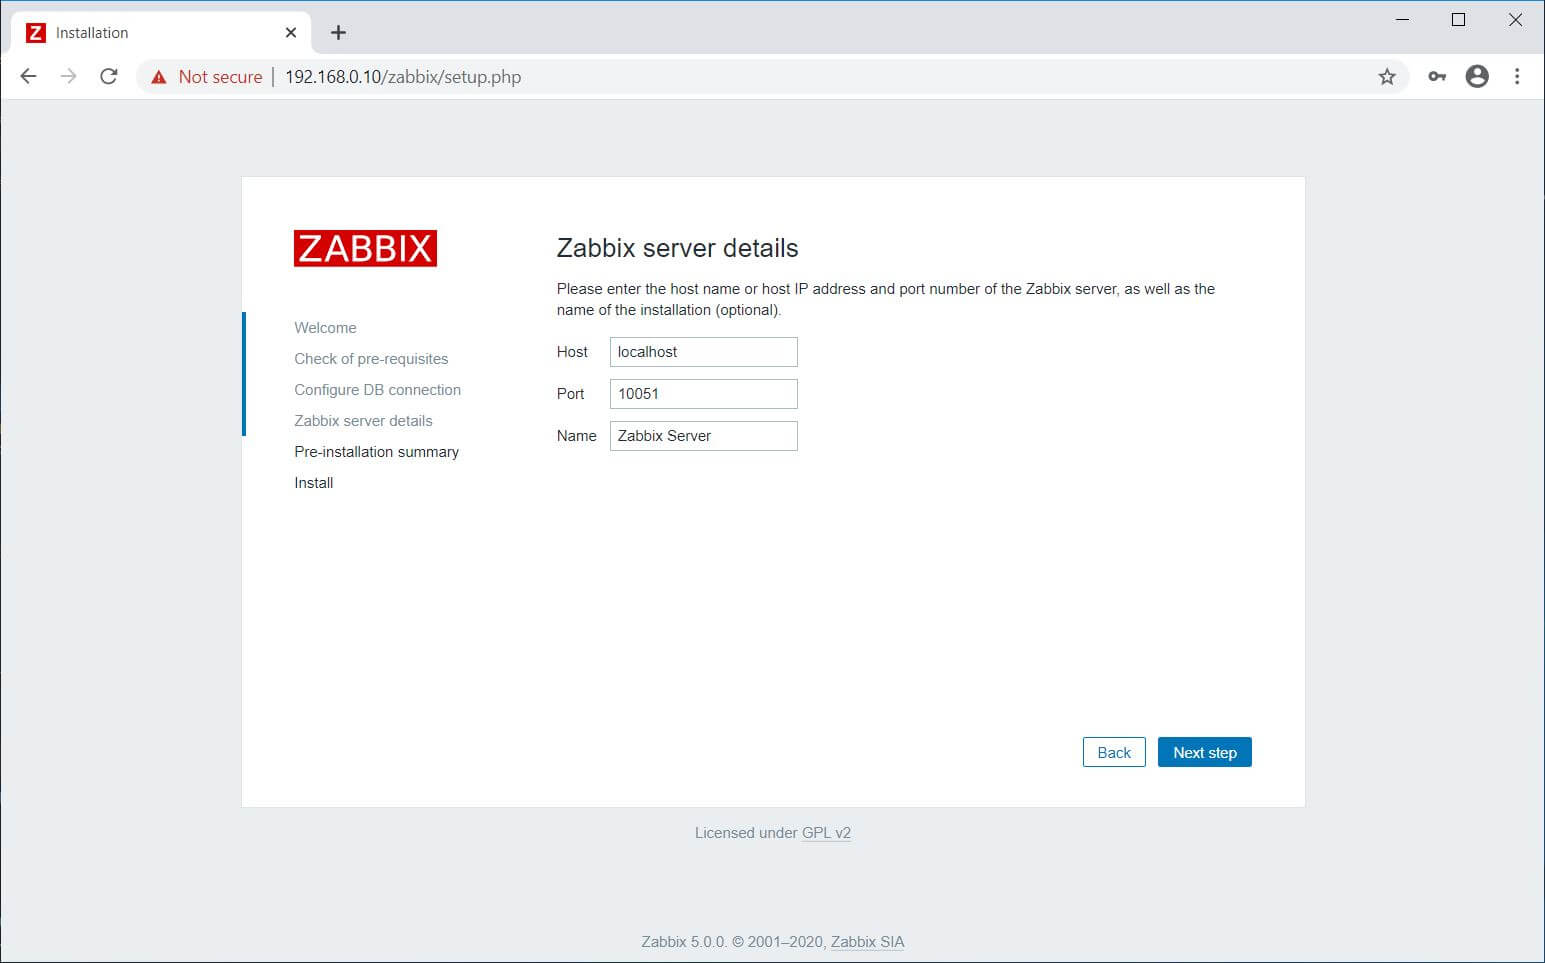
Enter the name for your Zabbix installation and then click the Next step.
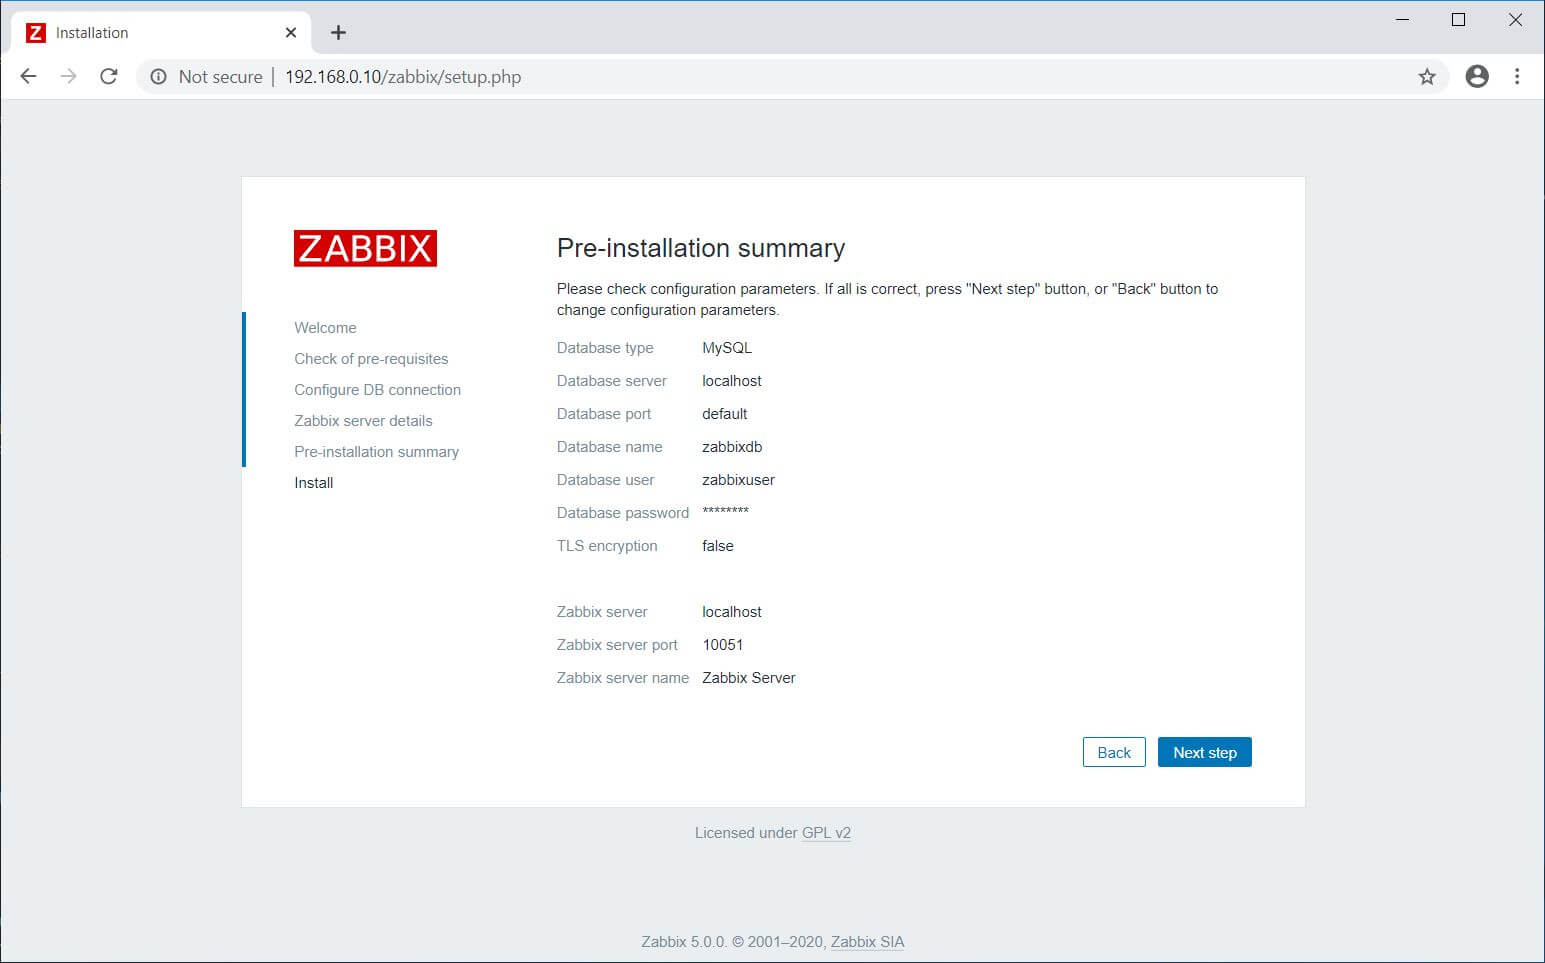
You will get a pre-installation summary like below. Click the Next step.
The installation of the Zabbix Server is now complete. Click the Finish.
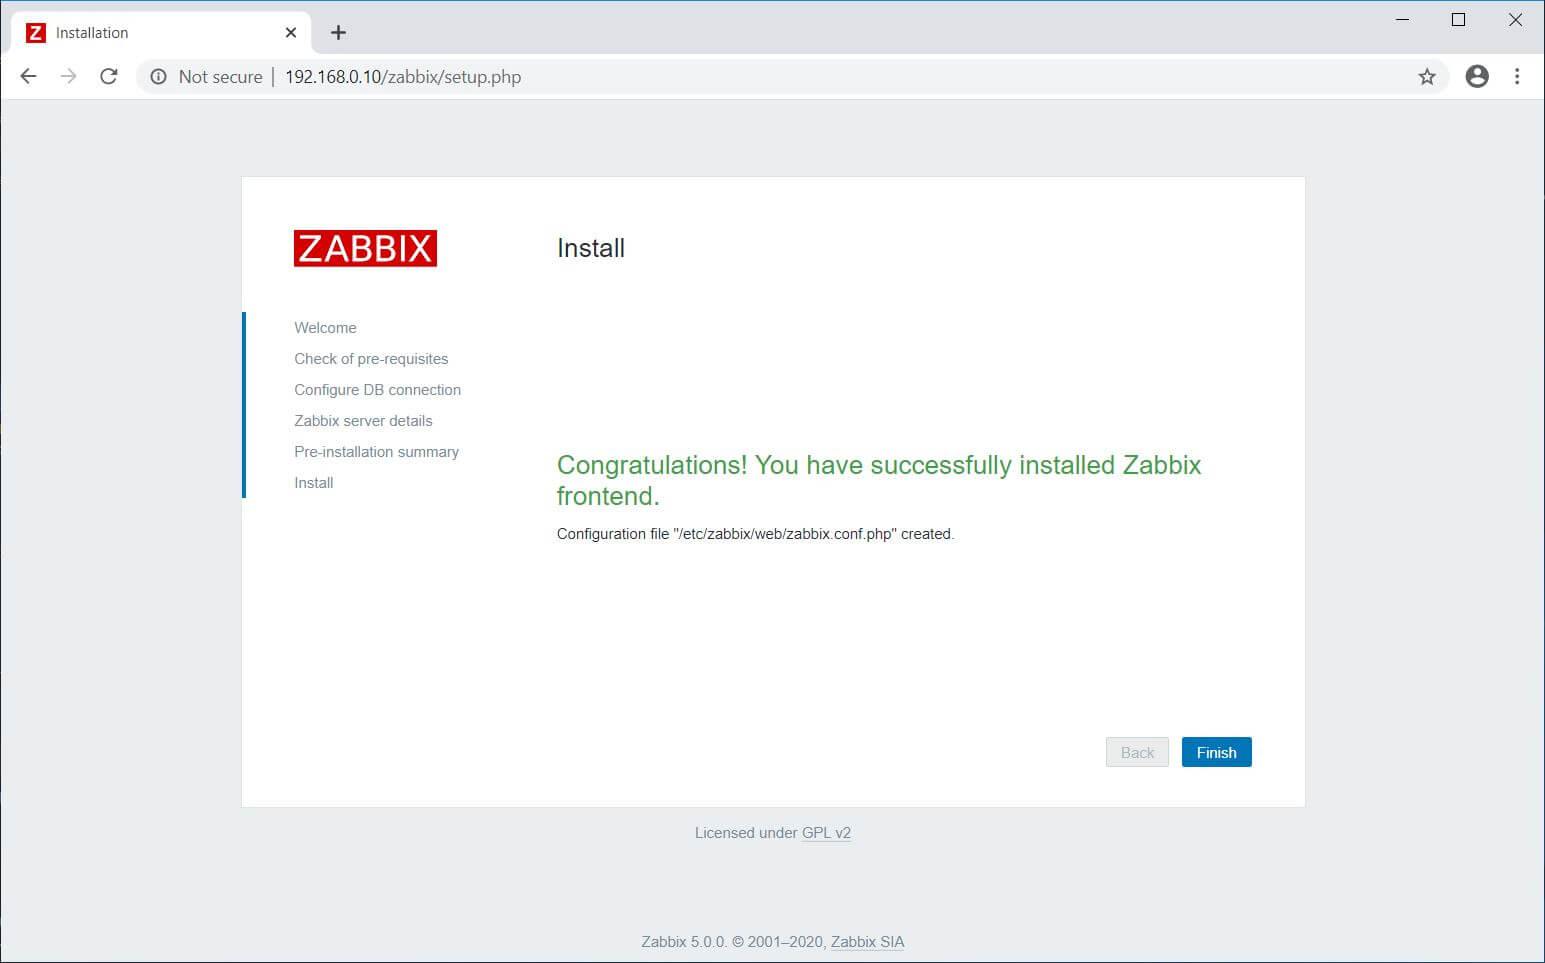
Once you click Finish, the web installer will redirect you to the Zabbix web console.
Access Zabbix Dashboard
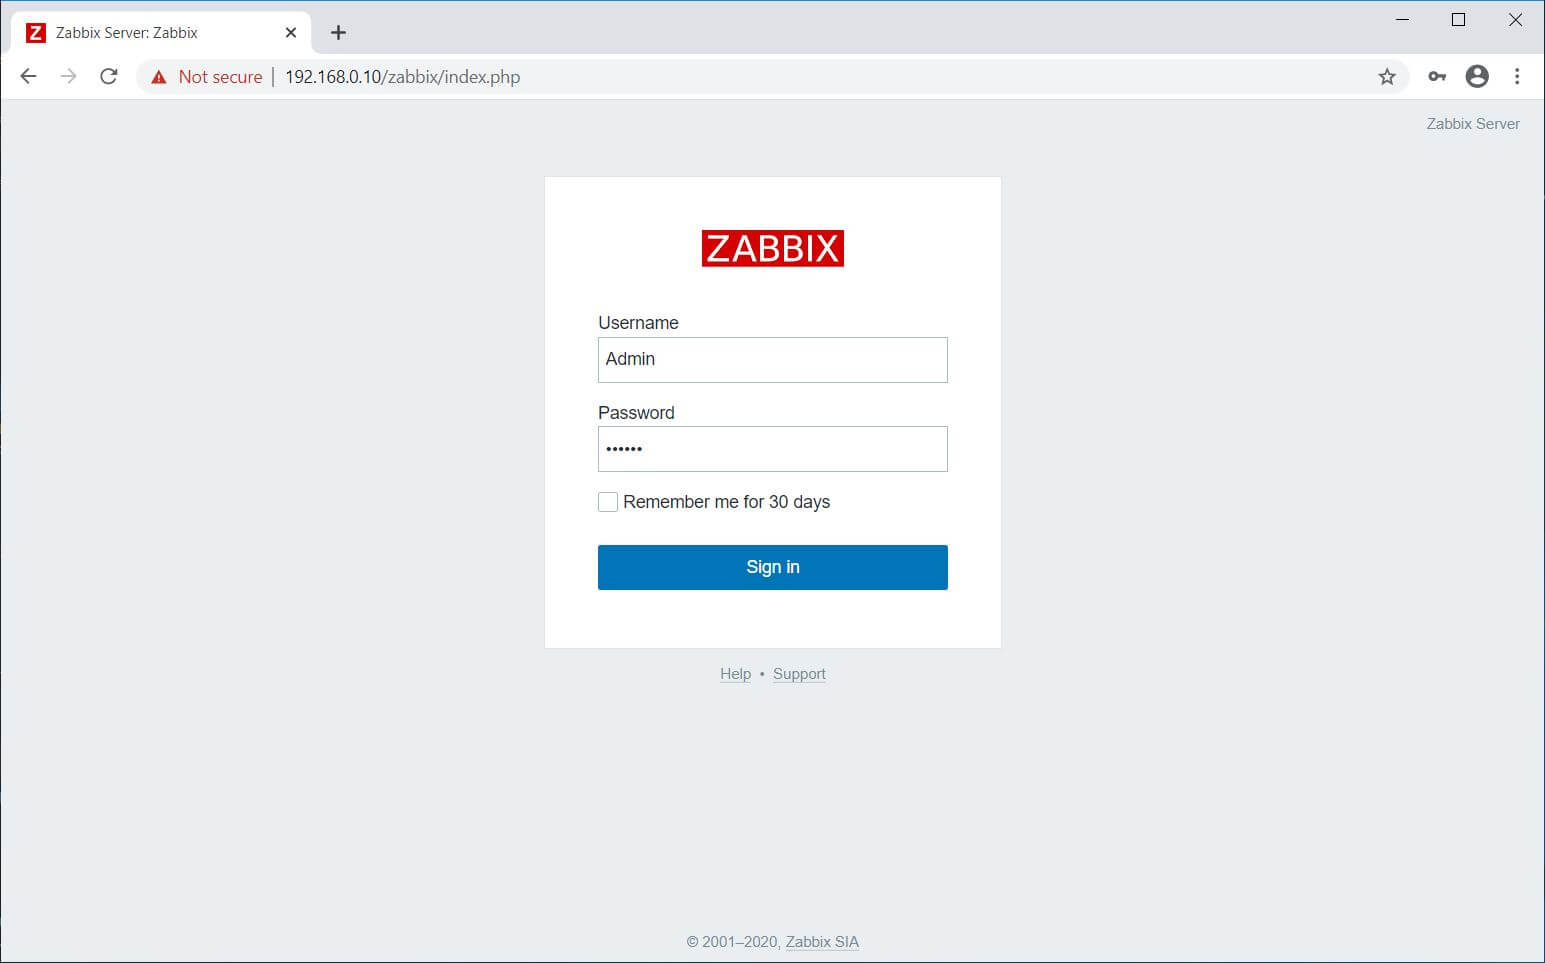
Log in with the Zabbix default username and password.
Username: Admin
Password: zabbix
Username is case sensitive.
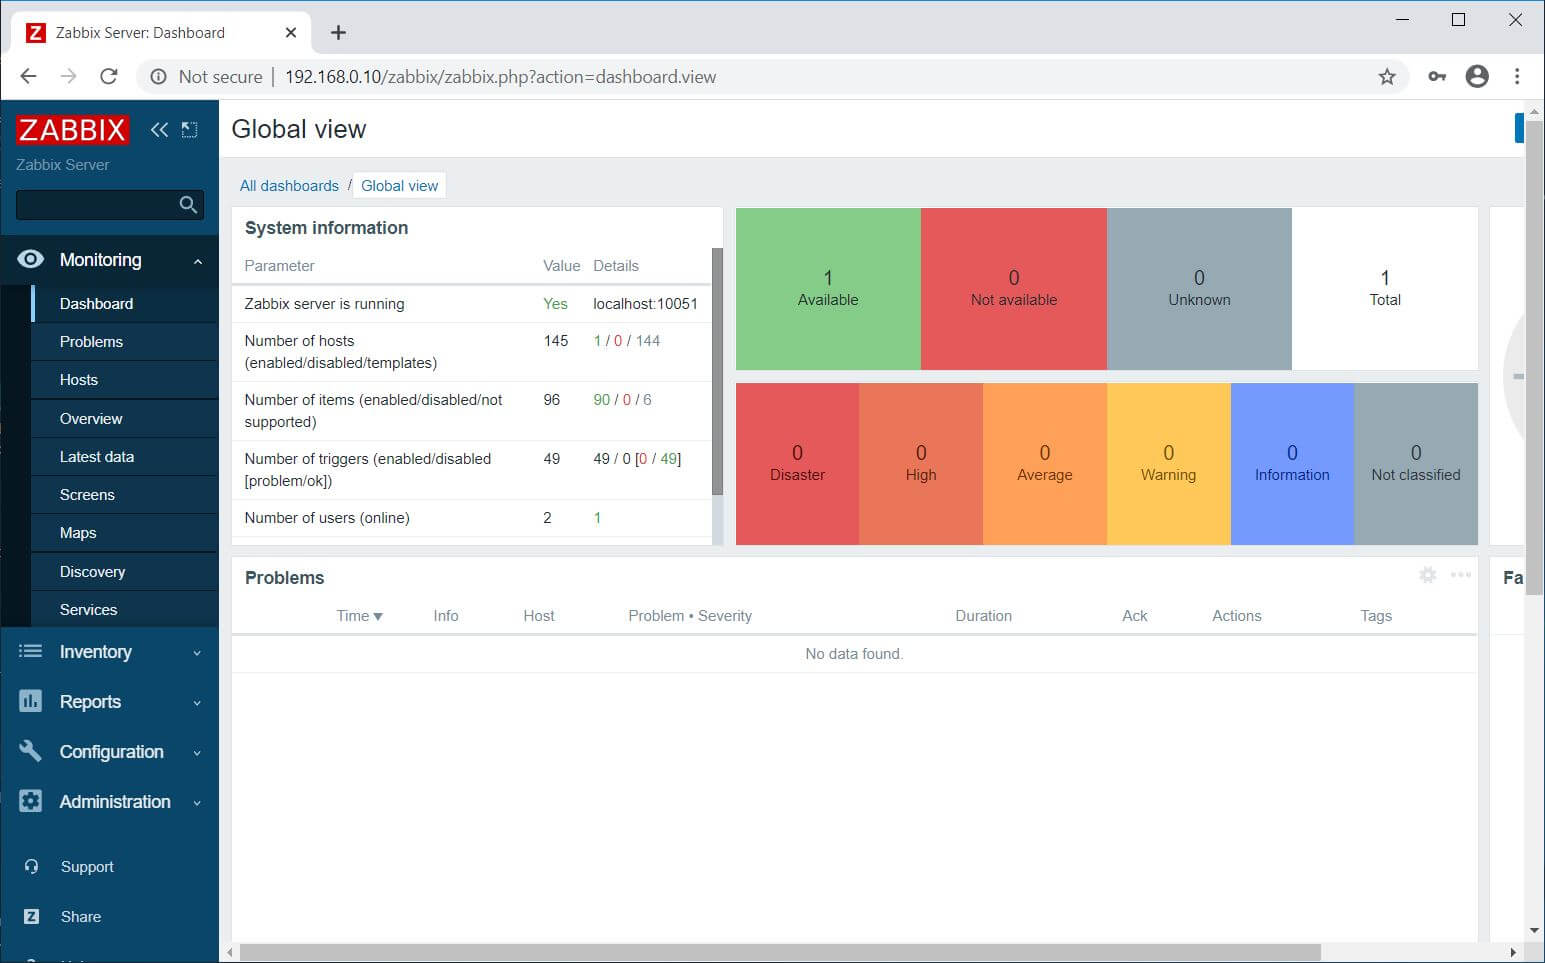
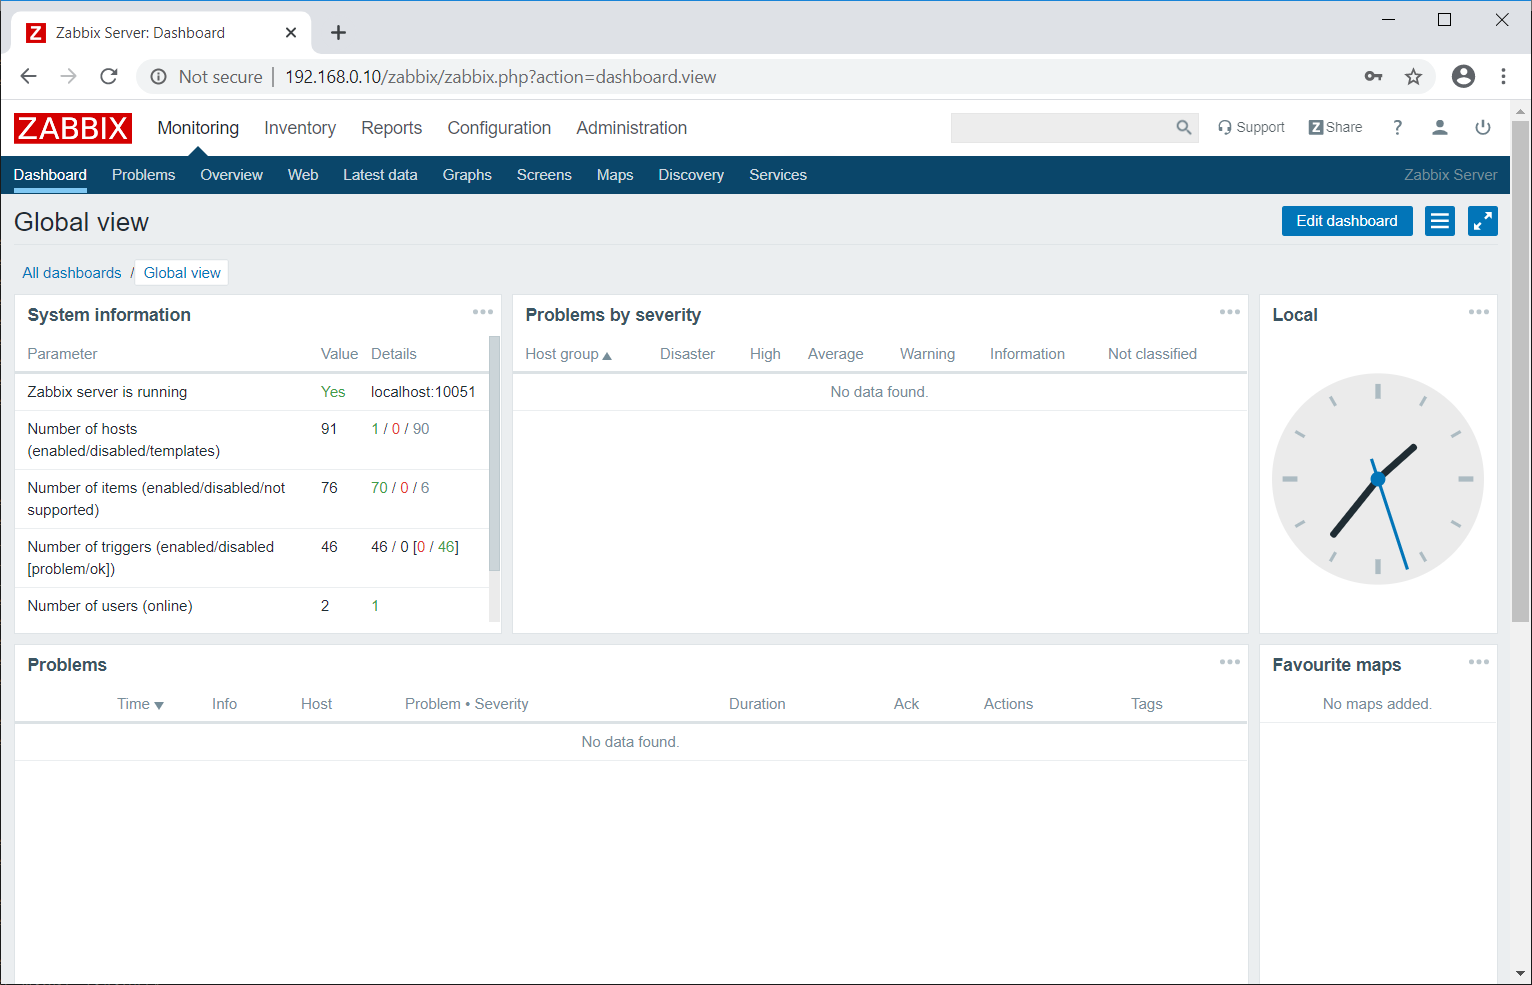
Zabbix Dashboard:
Conclusion
That’s All. I hope you have learned how to install Zabbix Server on CentOS 8 / RHEL 8. You can now proceed to install Zabbix Agent and then add clients to the Zabbix server for monitoring.

