Welcome to this comprehensive guide on installing Debian 12, the latest release codenamed Bookworm! Debian 12 brings a multitude of enhancements, including updated software packages, improved hardware support, and increased stability. This step-by-step tutorial will walk you through the steps to install Debian 12 bookworm, ensuring a smooth and successful setup of Debian 12 on your system. Let’s dive in and get Debian 12 up and running on your machine!
Wondering what’s new in Debian 12 bookworm edition? Refer our Debian 12 Release Notes guide in the link below.
If you’re already running Debian 11 on your system, follow our Step-by-Step Guide to upgrade to Debian 12 Bookworm from Debian 11 Bullseye.
To Perform a Fresh Installation of Debian, Follow the Steps Below.
Download Debian 12
Contents
- 1 Download Debian 12
- 2 Create Debian 12 Bootable USB Medium
- 3 Debian 12 Installation Step-by-Step
- 3.1 STEP 1 – Choose Install Type
- 3.2 STEP 2 – Language Selection
- 3.3 STEP 3 – Select Your Location
- 3.4 STEP 4 – Keyboard Configuration
- 3.5 STEP 5 – Network Configuration
- 3.6 STEP 6 – Set Root Password
- 3.7 STEP 7 – Create New User Account
- 3.8 STEP 8 – Disk Partitioning
- 3.9 STEP 9 – Configure Package Manager
- 3.10 STEP 10 – Popularity Contest Configuration
- 3.11 STEP 11 – Software selection
- 3.12 STEP 12 – GRUB Installation
- 3.13 STEP 13 – Debian Initial Setup
- 3.14 STEP 14 – Check Debian Version
- 4 Conclusion
When it comes to Debian 12, you have a choice of three different image types to suit your installation needs:
- Netinstall (small installation image): This image requires an internet connection during installation. It provides a minimal setup and allows you to download packages from the Debian repositories as needed.
- Cloud images: These images are designed for deploying Debian on various cloud platforms such as OpenStack, Amazon EC2, and Microsoft Azure. They are specifically optimized for cloud environments.
- Complete installation image: If you’re looking to set up a comprehensive Debian desktop or server on a bare metal system, this is the image you’ll want. It contains all the necessary packages and components for a full-fledged Debian experience.
To get started, head over to the official Debian download page and locate the Debian 12 ISO image that matches your machine’s architecture. Once you’ve chosen the appropriate image, proceed to download it.
Debian provides various other installers and images to accommodate different needs. If you require a live system, an offline installer for systems without a network connection, an installer for alternative CPU architectures, or even a Debian image for cloud instances, you can find them at Getting Debian link.
The following table includes the direct Debian 12 download links for various formats:
Please note that these links are subject to change and it’s always a good idea to go to the official Debian website to get the latest download links.
With the release of Debian 12 bookworm, firmware is now included in the regular Debian installer images. This means that users will no longer have to search for special versions or sources to obtain the necessary firmware. Debian has made the process even more convenient by integrating the firmware directly into the standard installer, eliminating the need for additional steps or downloads.
If you plan to install Debian 12 on a bare metal system, you’ll need to create a bootable DVD or drive. In the following section, you’ll find a variety of methods and tools listed that can help you create a bootable Debian Linux USB drive.
Create Debian 12 Bootable USB Medium
Once you have successfully downloaded the Debian 12 ISO image, the next step is to create a bootable USB medium. Fortunately, there are several reliable tools available for this purpose. You can choose from a range of options listed below, all of which can assist you in creating a bootable USB for Debian 12, codenamed Bookworm.
Command line bootable USB creation tools:
Graphical bootable USB creation tools:
If you intend to install and test Debian on a hypervisor such as VirtualBox, KVM, or Proxmox, there’s no need to create a bootable media. Instead, you can directly boot up the Debian 12 ISO image within your virtualization software.
Debian 12 Installation Step-by-Step
Ensure that your system’s BIOS is configured to prioritize USB as the primary bootable device. Then, boot your system using the freshly created Debian 12 bootable media. Follow the steps below to proceed with the installation of Debian 12, codenamed Bookworm.
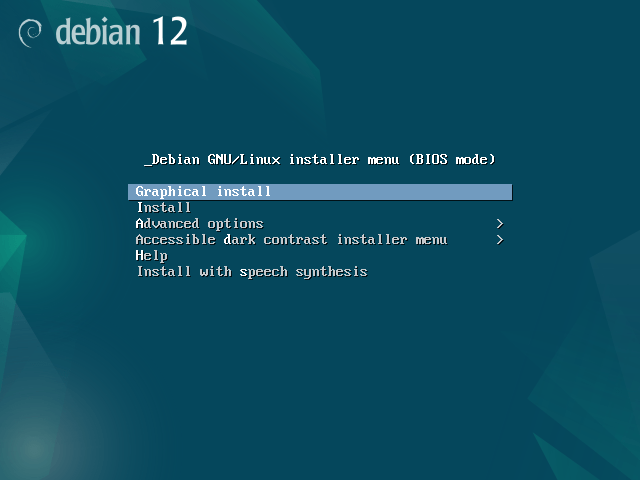
STEP 1 – Choose Install Type
From the Debian installer menu, choose the option labeled “Graphical Install” to initiate the installation process of Debian 12.
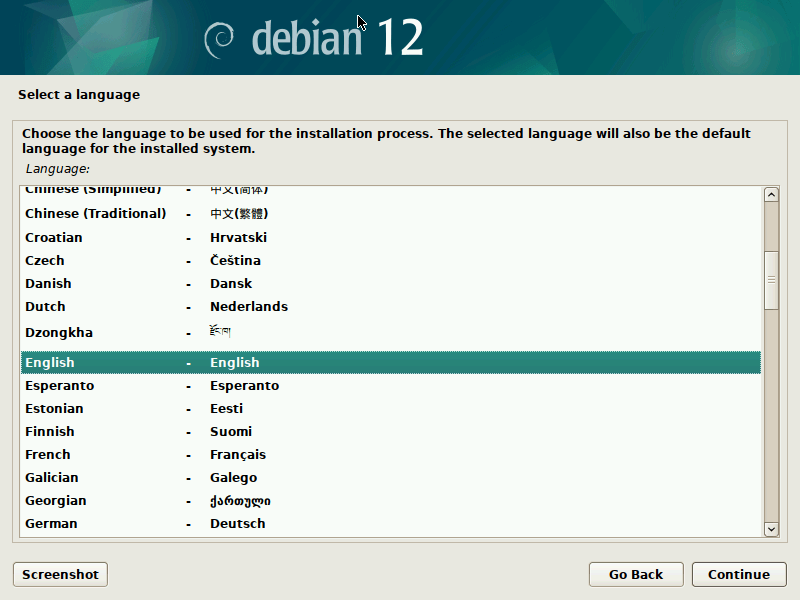
STEP 2 – Language Selection
In this step, you will be prompted to select the language that will be used for both the installation process and the system language in Debian 12. Choose your preferred language from the available options to proceed with the installation.
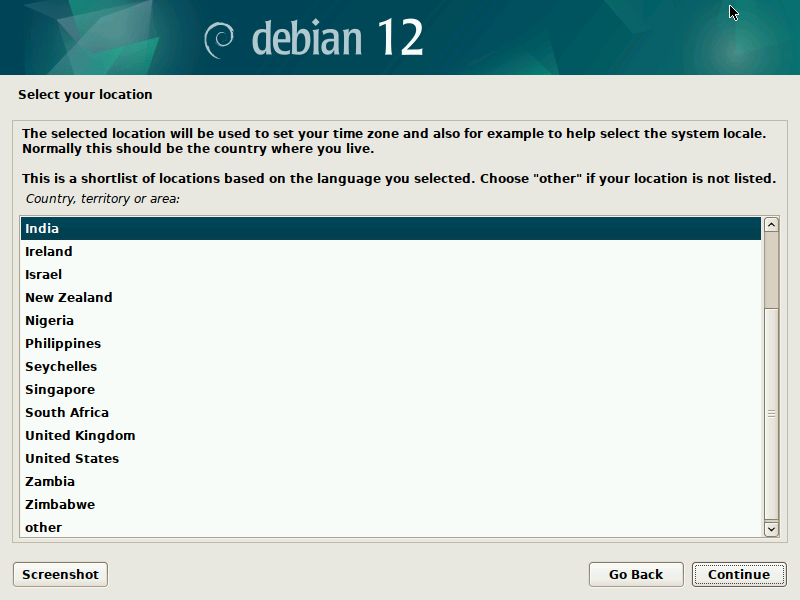
STEP 3 – Select Your Location
In this step, you will be required to select your location, which will automatically set the appropriate time zone for your Debian 12 installation.
STEP 4 – Keyboard Configuration
Select the appropriate keyboard layout from the available options that matches your physical keyboard and click Continue.
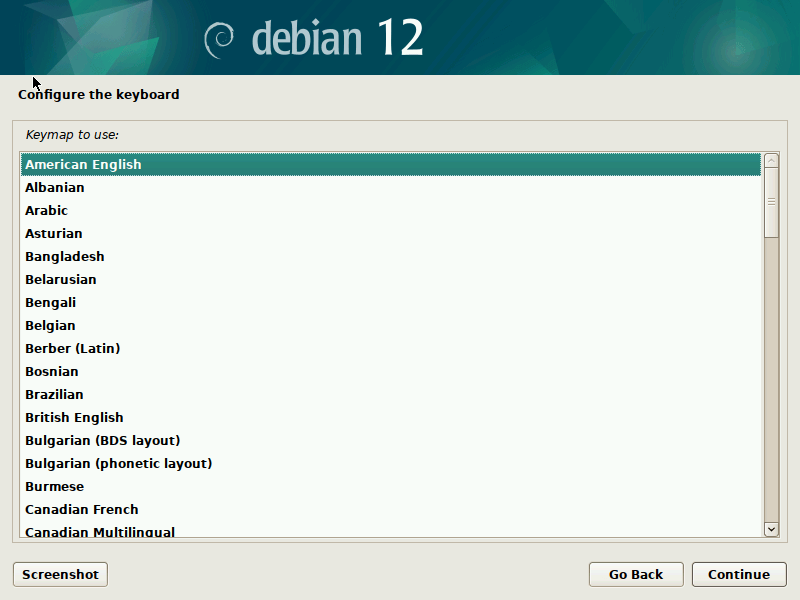
After choosing Keyboard layout, click Continue. Now, some installer components will be loaded from the disk before going to the next step.
STEP 5 – Network Configuration
During the installation process, the Debian installer will attempt to automatically configure the IP address by obtaining it from an existing DHCP server in your network. However, if no DHCP server is available, the automatic network autoconfiguration will fail. In such a scenario, you will need to manually configure the IP address settings. Click Continue to manually configure your network.
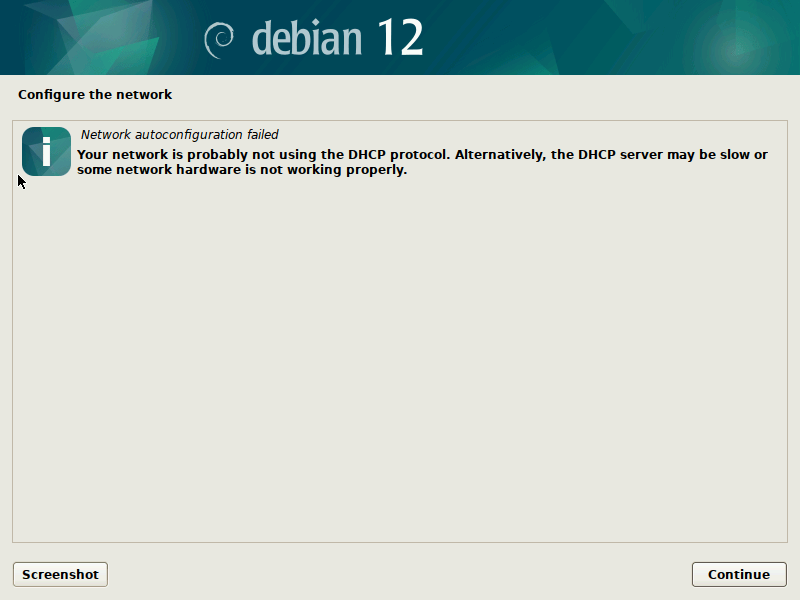
In the next screen, choose “Configure network manually” option and click Continue.
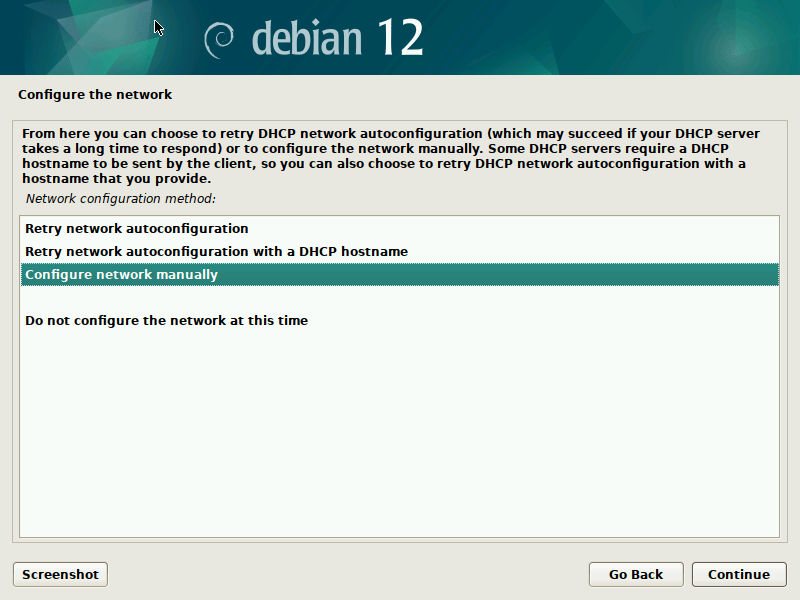
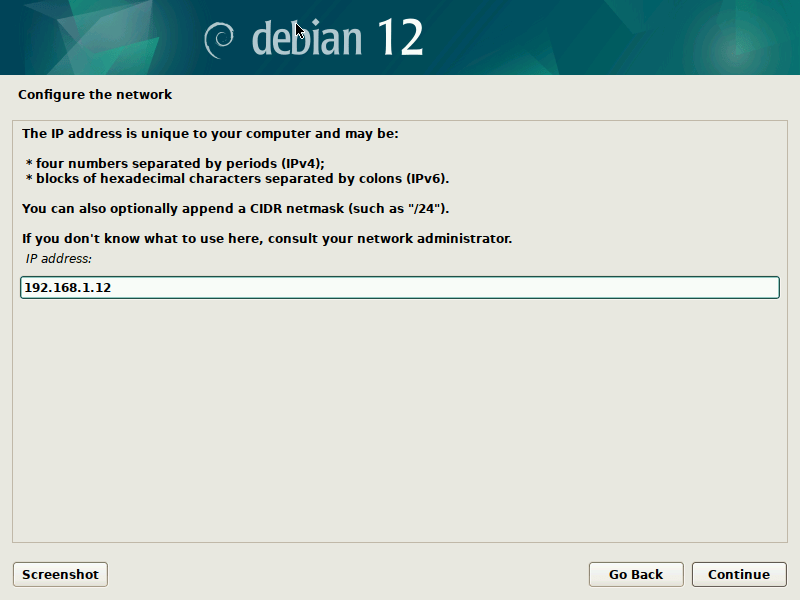
Enter a IP address to your Debian system and click Continue.
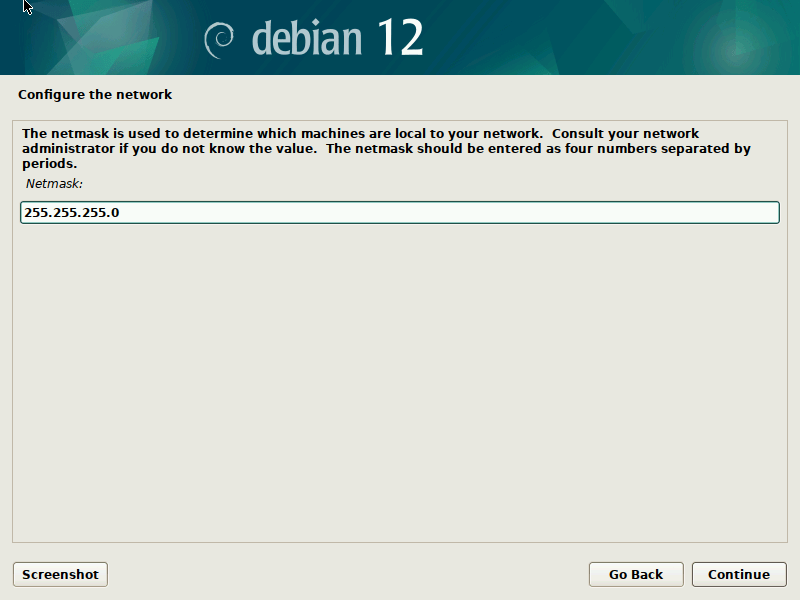
Enter Netmask and click Continue.
Enter Gateway IP and click Continue.
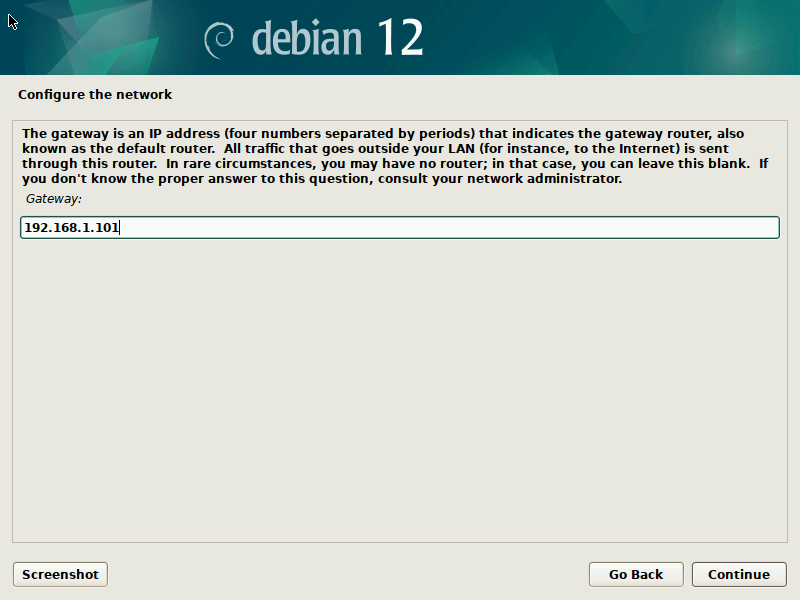
Enter Name server (DNS) address and click Continue.
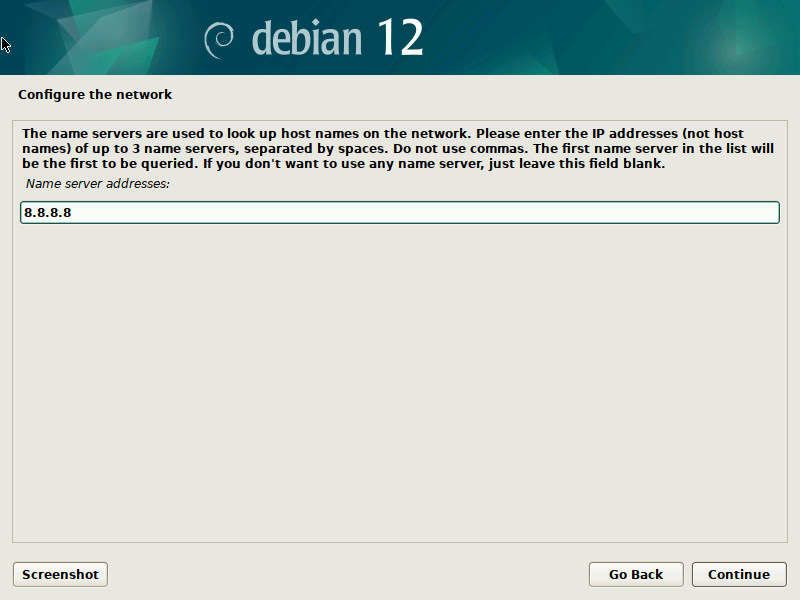
Enter a hostname for your Debian system and click Continue.
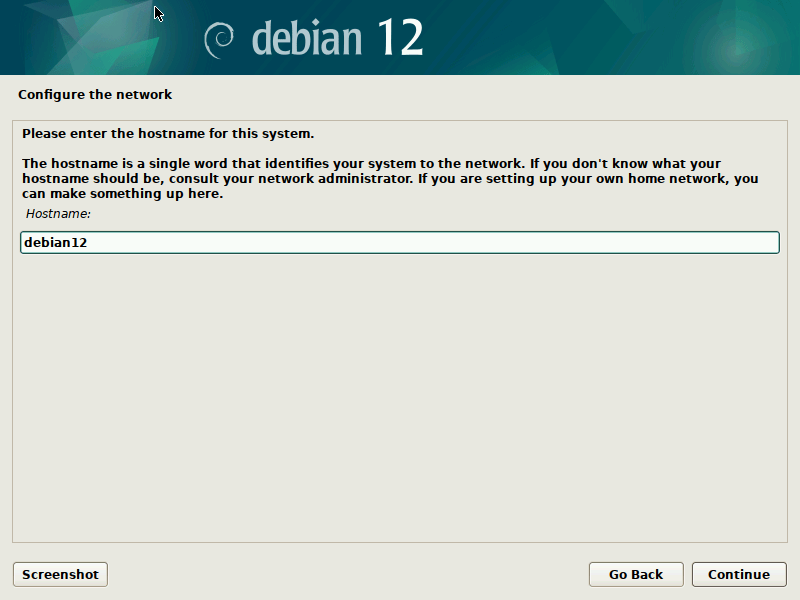
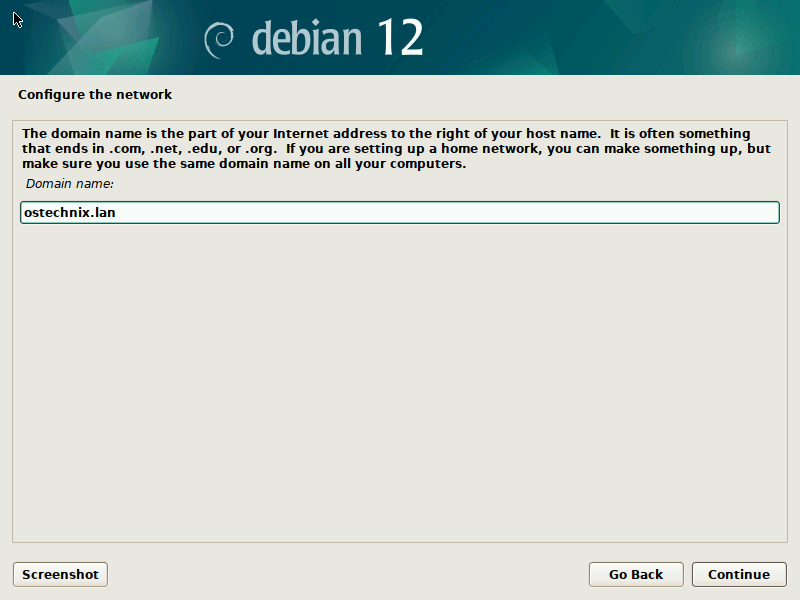
In this step, enter a Domain name for your Debian system. The domain name helps identify and categorize systems within a network. If you have a specific domain name associated with your network, enter it here. Otherwise, you can leave this field blank. Providing a domain name is optional, and it can be configured or modified later if needed.
STEP 6 – Set Root Password
In this step, set a strong and unique password for the root user account.
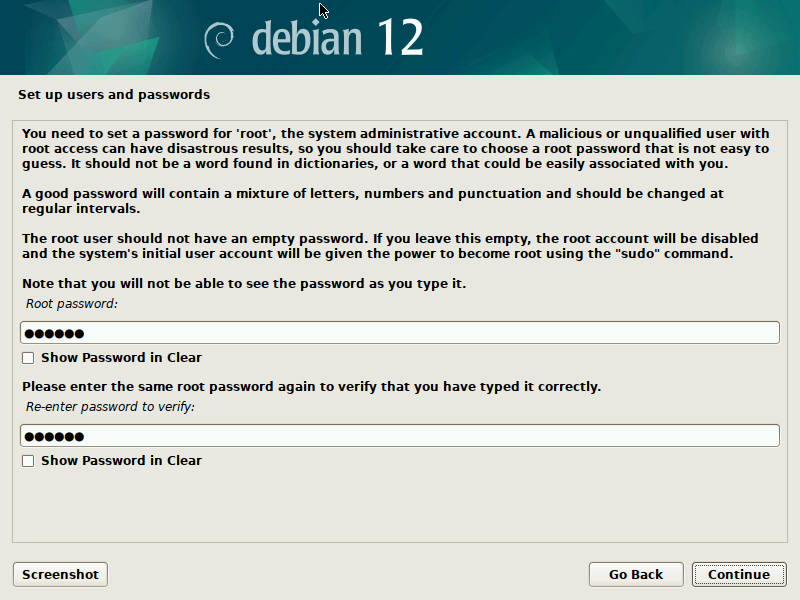
A good password should meet the following criteria:
- Length: It should have a minimum length of eight characters or more.
- Complexity: It should include a combination of uppercase and lowercase letters, numbers, and special characters (@, #, $, etc.).
- Uniqueness: Avoid using common or easily guessable passwords. Do not reuse passwords from other accounts.
- Avoid personal information: Do not include personal details such as your name, birthdate, or any other easily identifiable information.
STEP 7 – Create New User Account
Using the root user for all activities is not considered a best practice in terms of system security. The root account should be reserved solely for system-related tasks and activities that requires elevated privileges. So, it is recommended to create a new user account during this step. This new user account will serve as an alternative to the root user, enabling you to perform regular activities without the need for administrative permissions.
Enter a full name for the new user.
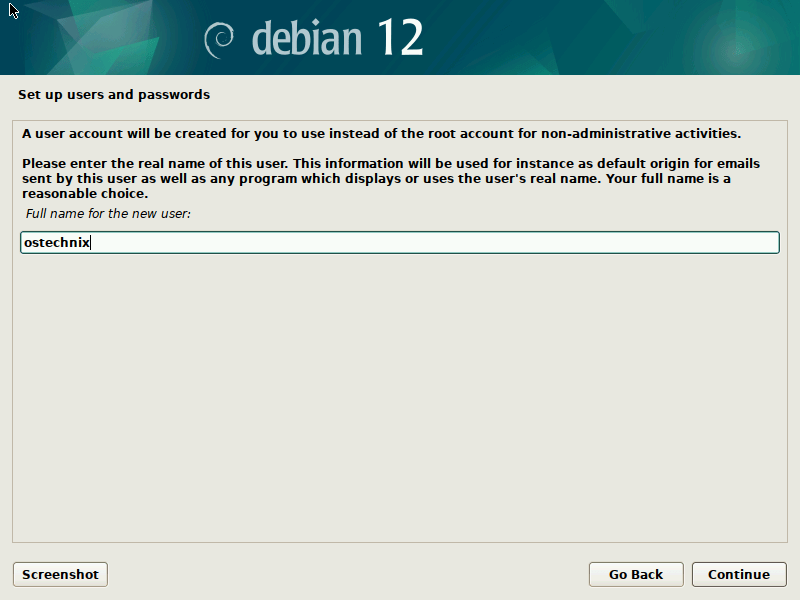
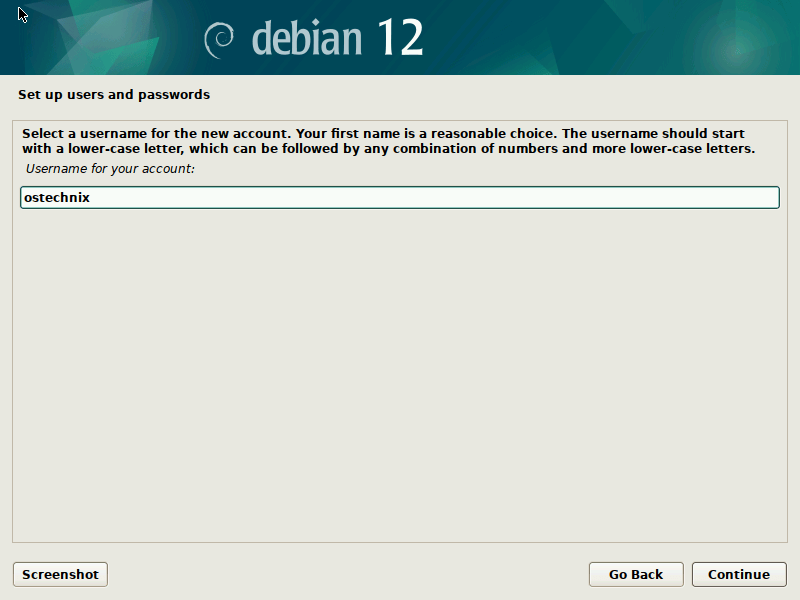
Enter a username for the new user account. The username should start with a lower-case letter, followed by any combination of numbers and more lower-case letters.
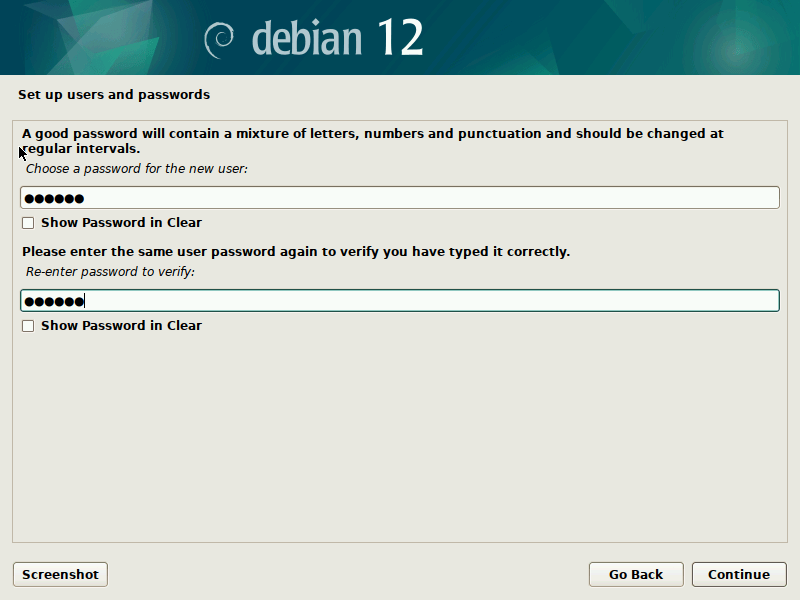
Enter a unique and strong password for the new user. Ensure the user’s password is different than the root password.
STEP 8 – Disk Partitioning
In this step, you will need to decide how you want to partition your disks in Debian 12. You have four options to choose from:
- Guided Partition – Use entire disk: Selecting this option allows the system to automatically partition the entire disk for you.
- Guided Partition – Use entire disk and set up LVM: This option automatically sets up Logical Volume Management (LVM) in addition to partitioning the entire disk. LVM provides flexibility in managing storage volumes.
- Guided Partition – Use entire disk and set up encrypted LVM: If you require an extra layer of security, this option will automatically set up an encrypted LVM configuration along with partitioning the entire disk.
- Manual partitioning: If you prefer to have complete control over the disk partitioning process, you can choose manual partitioning. This option allows you to customize and define the partitions according to your specific requirements.
Here I am choosing Manual partitioning method.
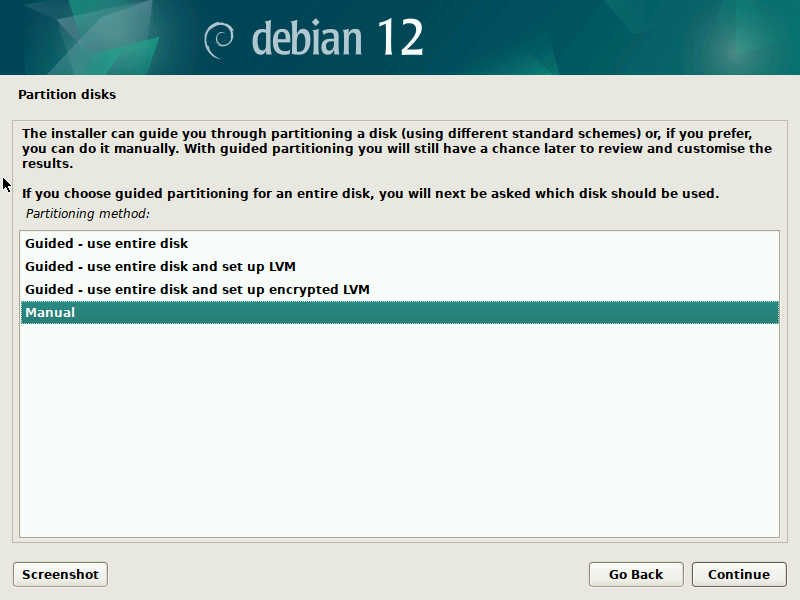
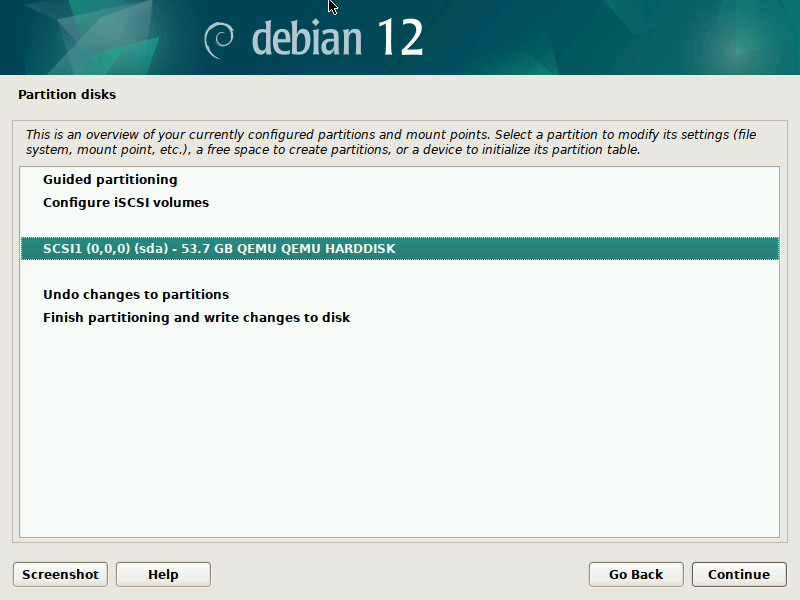
Select the drive and click Continue.
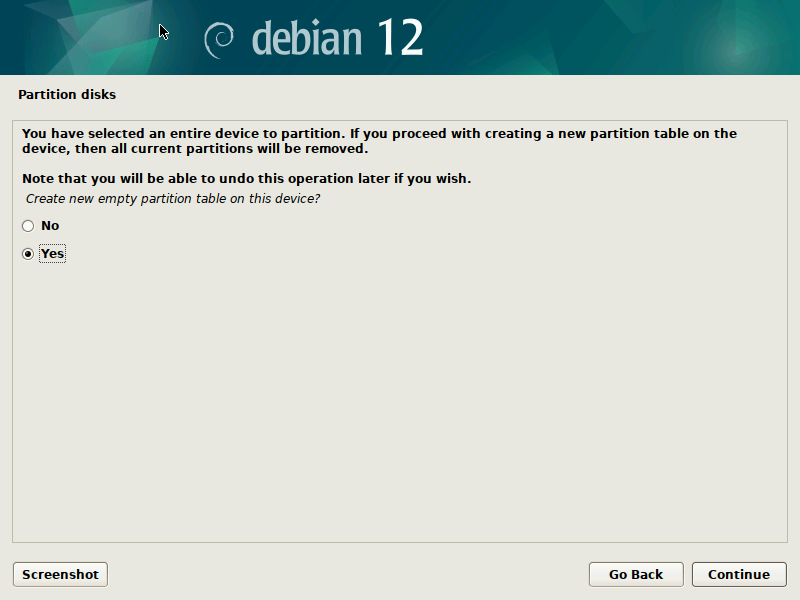
After choosing the device, choose “Yes” to proceed with creating new partition table on the selected device. This action will initialize the disk with a fresh partition table, allowing you to define and allocate partitions as per your requirements.
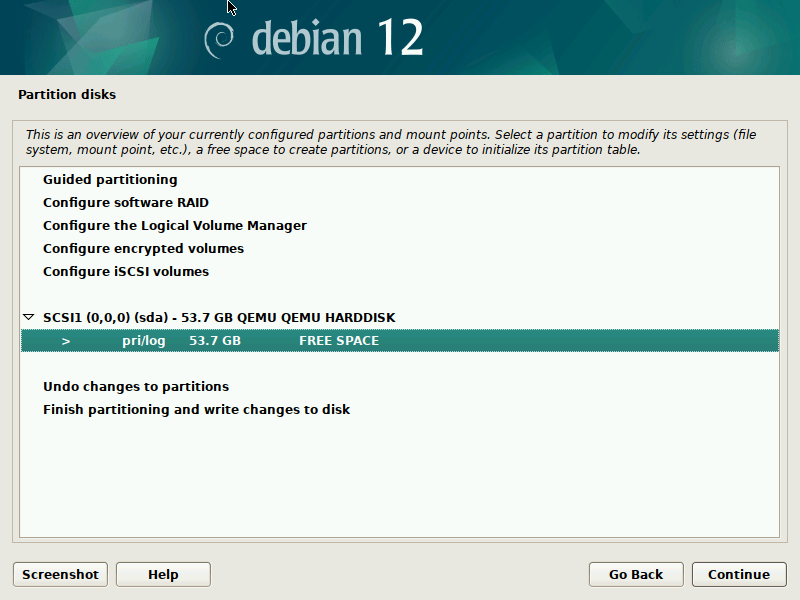
Once the empty partition table has been successfully created, you can proceed by selecting the available free space on the disk to create new partitions. By choosing the free space, you can define and allocate the necessary partitions based on your specific needs and preferences. This step allows you to efficiently organize and utilize the available disk space by creating partitions that will serve various purposes, such as root (/), home (/home), swap, or any other desired partition layout.
In this step, you have the option to decide how to utilize the available free space on the disk. You will be presented with two choices:
- Create a new partition: By selecting this option, you can manually define and configure individual partitions within the available free space. This allows for greater customization and control over the partitioning process, enabling you to allocate specific sizes and mount points for each partition according to your requirements.
- Automatically partition the free space: If you prefer a more automated approach, choosing this option will prompt the installer to automatically partition the free space on your behalf. The installer will utilize a predefined partitioning scheme or algorithm to allocate the free space based on the recommended configuration.
I have opted for the automated approach by selecting option 2. This choice allows Debian 12 to automatically partition the available free space on the disk, eliminating the need for manual intervention. By selecting this option, the installer will utilize a predefined partitioning scheme or algorithm to efficiently allocate the free space based on the recommended configuration. This automated approach saves time and simplifies the partitioning process during the installation of Debian 12.
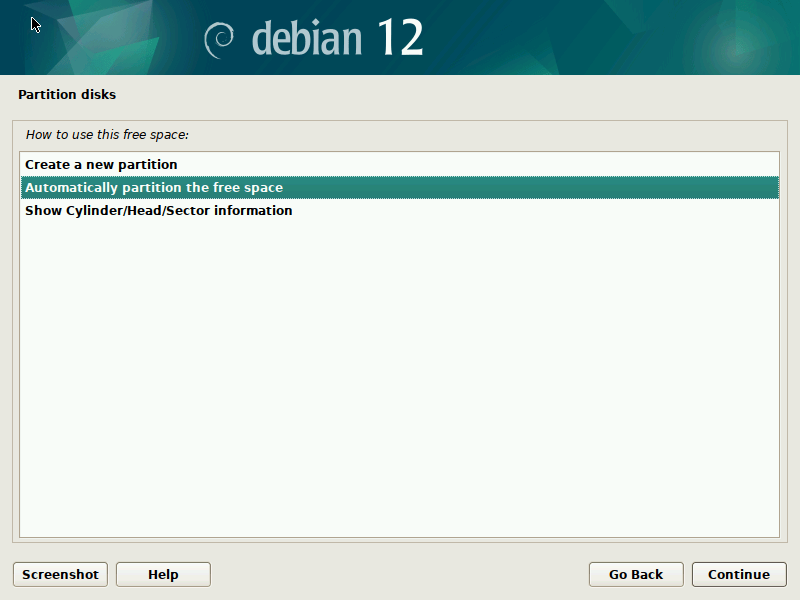
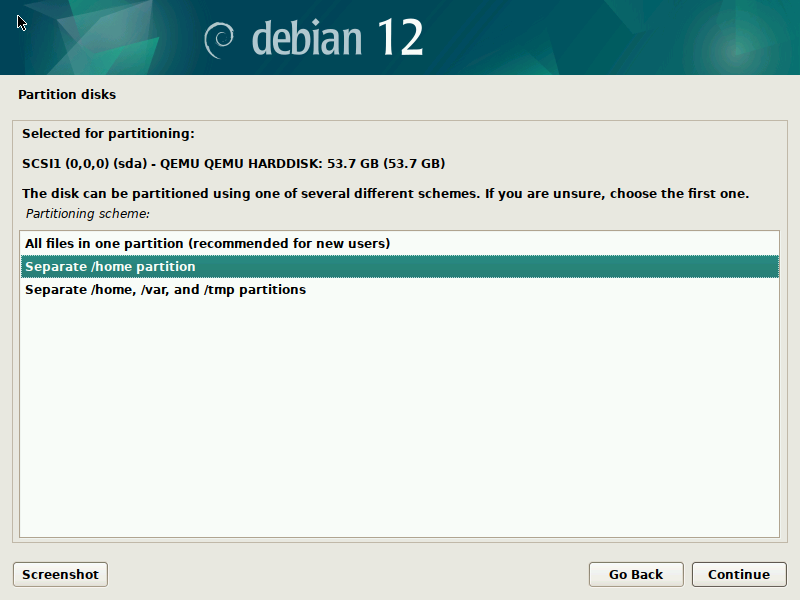
Once you have selected the “Automatically partition the free space” option, the next step is to choose your preferred partitioning scheme. You will be presented with three options to choose from:
- All files in one partition (recommended for new users): This option combines all files, including the root directory, user data, and system files, into a single partition. It is a straightforward and convenient choice, especially for new users who prefer simplicity and ease of use.
- Separate
/homepartition: By selecting this option, Debian 12 will create a separate partition for the /home directory. This allows for a clear separation of user data from system files, making it easier to manage and maintain personal files. - Separate
/home,/var, and/tmppartitions: This option takes partitioning a step further by creating separate partitions for the /home, /var, and /tmp directories. Each partition serves a specific purpose: /home stores user data, /var contains variable data such as logs and databases, and /tmp is used for temporary files. This approach provides increased flexibility and isolation for different types of data.
Choose the partitioning scheme that best suits your needs and preferences. I go with the 2nd option i.e. Separate /home partition.
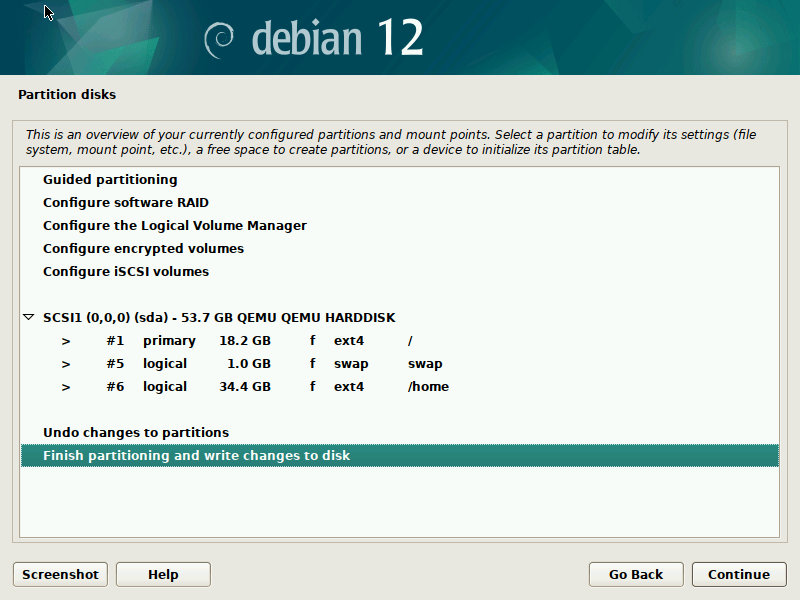
Based on your previous selection of the partitioning scheme, the Debian installer will automatically create the required partitions for you. Once the partitions have been set up, choose the option “Finish partitioning and write changes to disk” and click on “Continue” to proceed to install Debian 12 Bookworm.
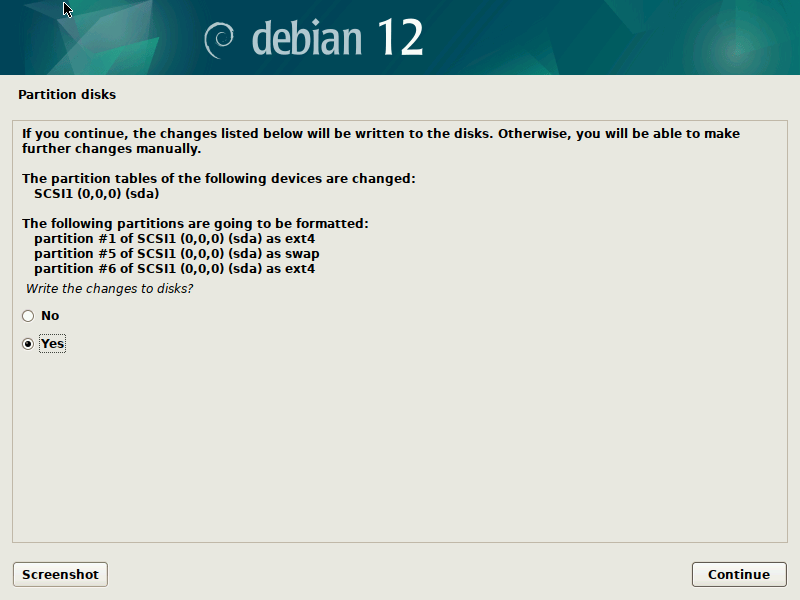
Choose “Yes” to confirm writing partition changes to disk and click Continue.
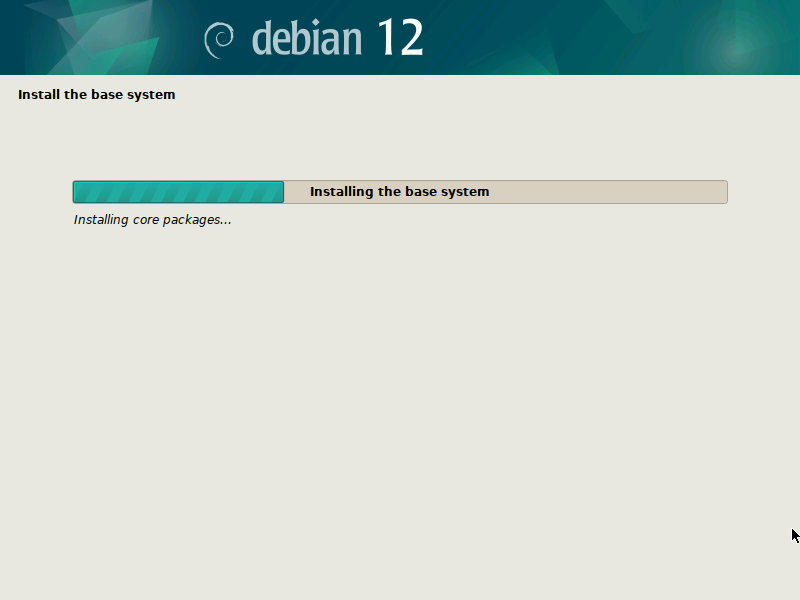
The Debian 12 base installation will begin now.
STEP 9 – Configure Package Manager
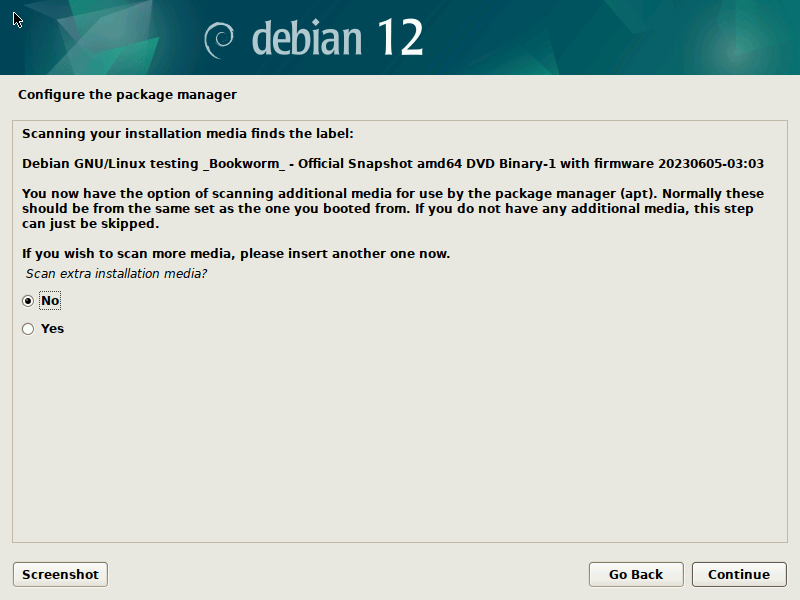
After a few minutes, the installer will prompt you to scan for additional media. This scan is primarily performed to identify any supplementary media that can be utilized by the package manager (apt). In most cases, you will not have any additional media apart from the ISO image you initially booted from. Therefore, simply choose the “No” option to proceed to the next step.
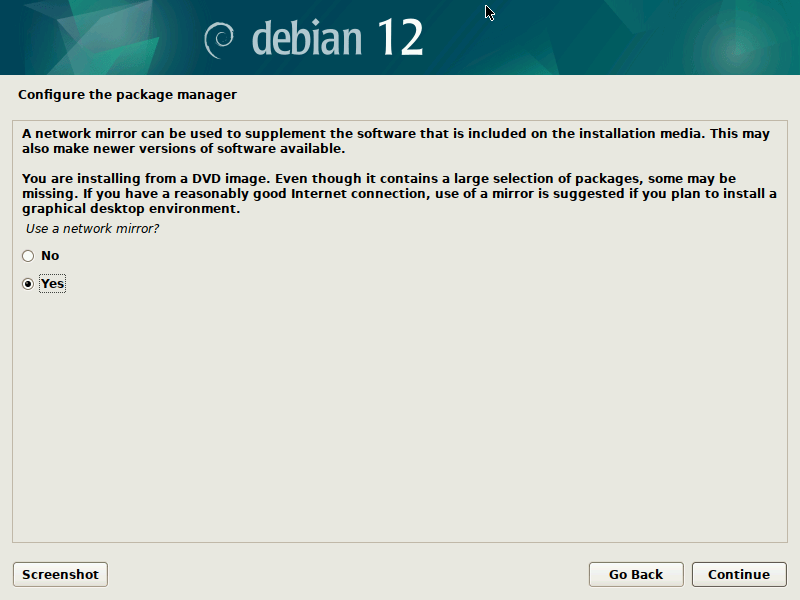
In this step, you will be prompted to configure the network mirror. Configuring network mirrors ensures that the latest packages are installed using the Internet, even though a comprehensive set of packages is included in the installation media (ISO). If you have an Good internet connection available, it is recommended to choose “Yes”. This allows Debian 12 to fetch and install the most up-to-date packages from the network mirror during the installation process, ensuring that you have the latest software versions and security updates.
However, if you do not have an internet connection at the moment or prefer to install using only the packages included in the ISO, select “No”. This option will proceed with the installation using the packages available on the installation media, without accessing the network mirror.
Consider your specific circumstances and requirements to make the appropriate choice between “Yes” and “No” during this step of the installation process.
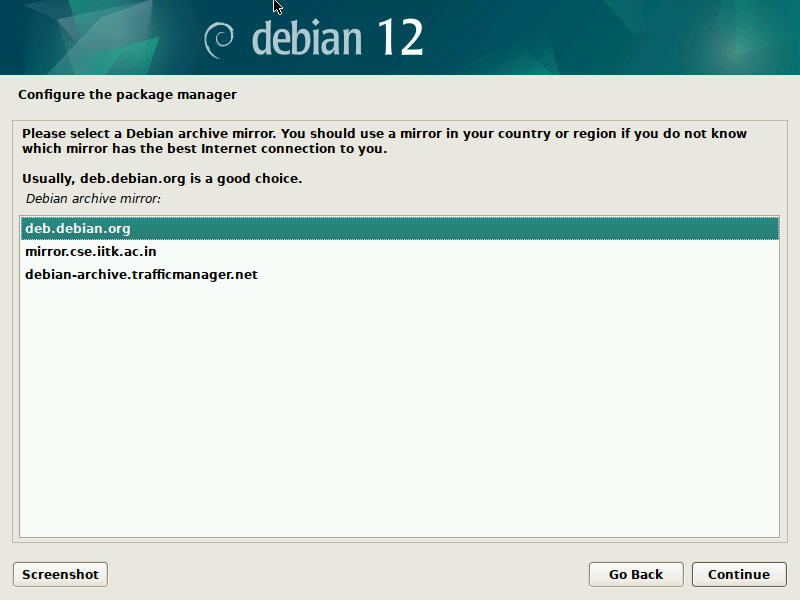
If you chose “Yes” in the previous step to configure the network mirror, the installer will now prompt you to select a nearby mirror from a list of countries. Please note that choosing mirrors from nearby countries or even your own, may not always be the best choice.
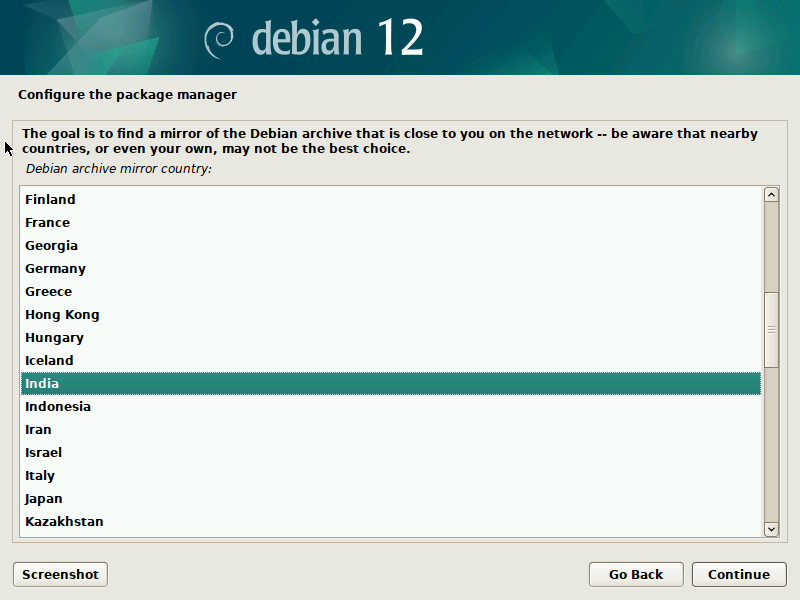
Select a mirror from the list of available Debian archive mirrors and click Continue.
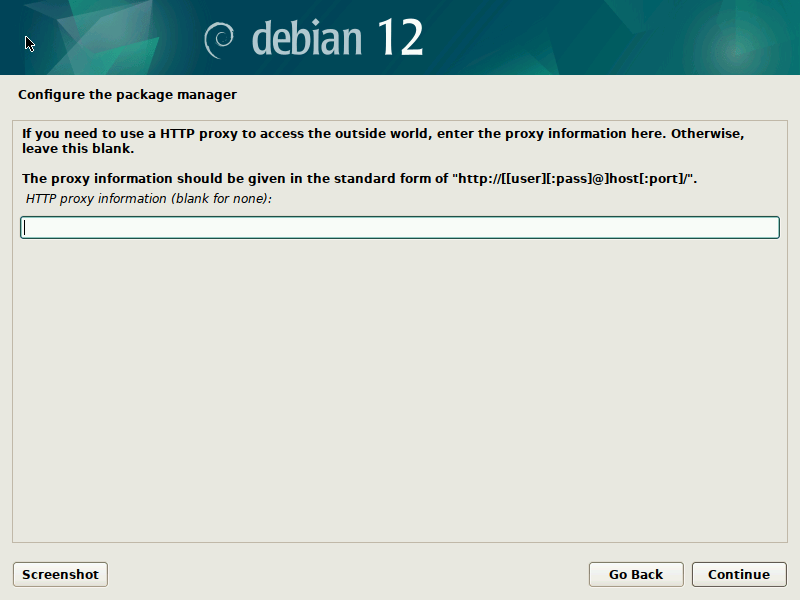
If your machine is configured to access the internet through a proxy, you will be prompted to enter the proxy information in this step. Provide the necessary proxy details, including the proxy server address and port number. If you do not have a proxy configured or do not require a proxy for internet access, you can leave the fields blank and proceed by pressing the “Continue” button.
STEP 10 – Popularity Contest Configuration
In this step, you will be given the option to participate in a popularity contest. By choosing “Yes,” you consent to sending package statistics to the developers on a weekly basis. This information assists the developers in understanding package usage patterns and improving software development.
If you wish to participate in the popularity contest, select “Yes.” However, if you prefer to skip participation, choose “No”.
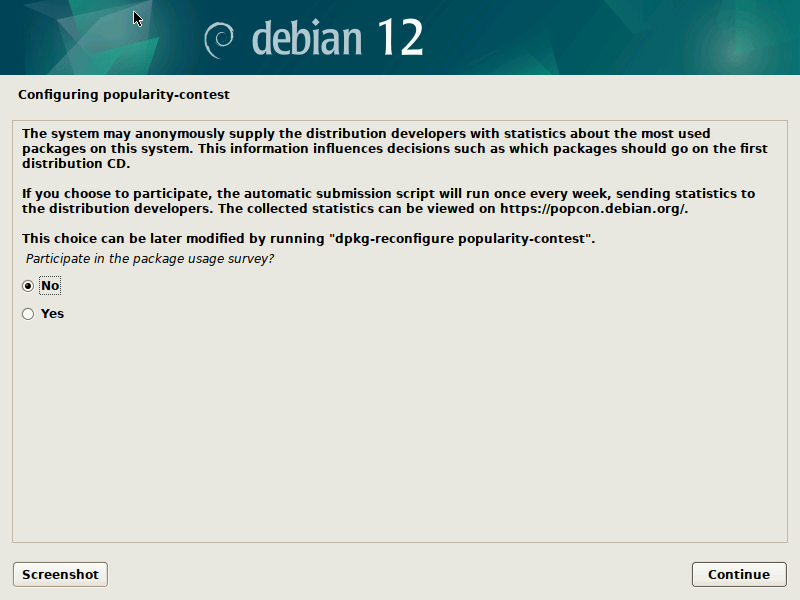
You can always modify your decision later by running the following command:
$ dpkg-reconfigure popularity-contest
This command allows you to reconfigure your choice regarding the popularity contest at any time after the Debian 12 installation.
STEP 11 – Software selection
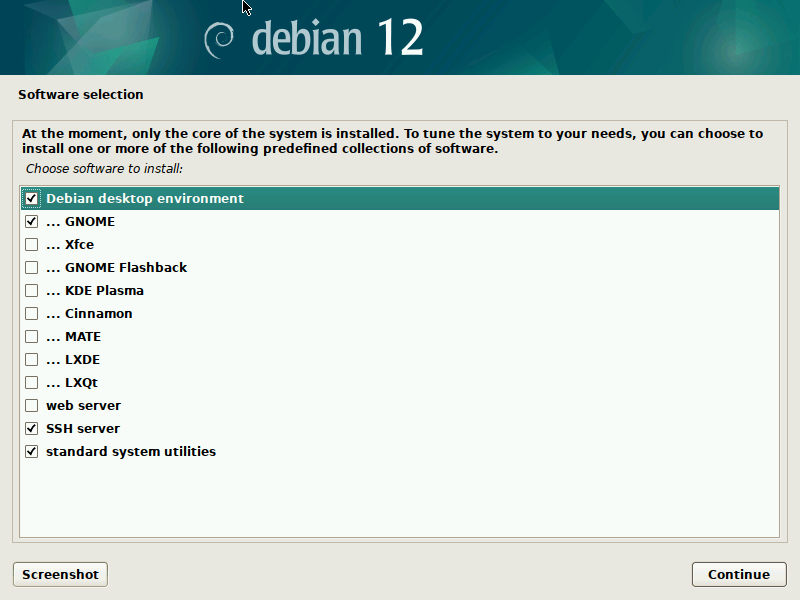
Currently, only the core components of the system have been installed. To customize the system according to your specific requirements, you have the option to install one or more predefined collections of software. Choose your preferred software to install and click Continue. For example, I am selecting to install GNOME desktop environment, SSH server and standard system utilities.
Now the installer will start installing the selected software.
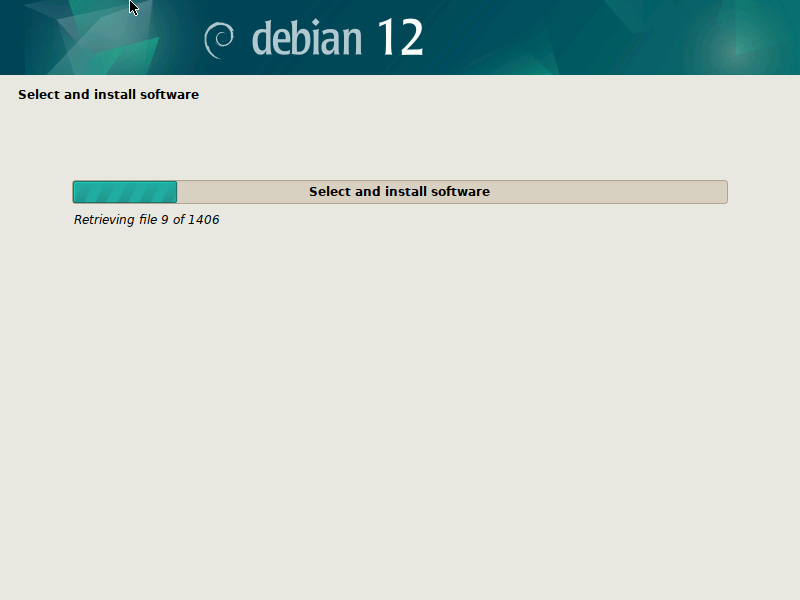
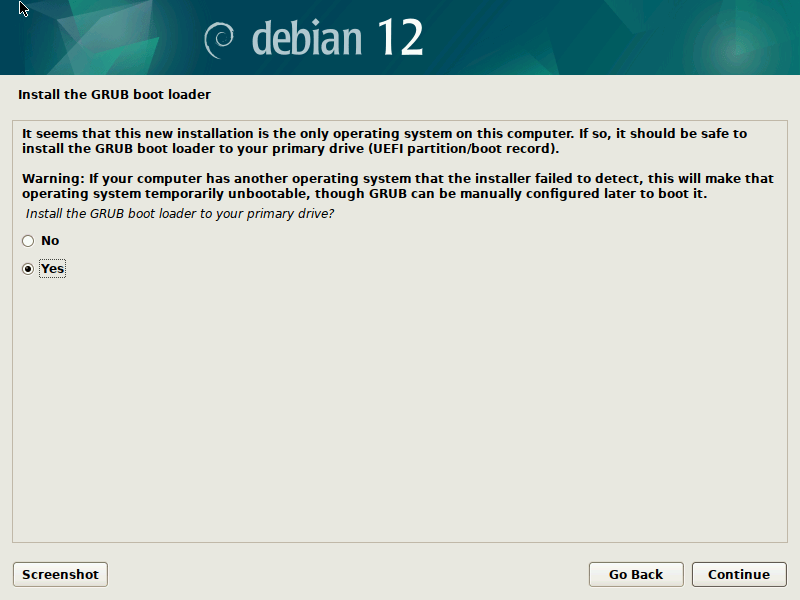
STEP 12 – GRUB Installation
In this step, you will be prompted to install the GRUB boot loader on the primary drive of your system. To proceed with the installation of GRUB, choose “Yes” and press the “Continue” button.
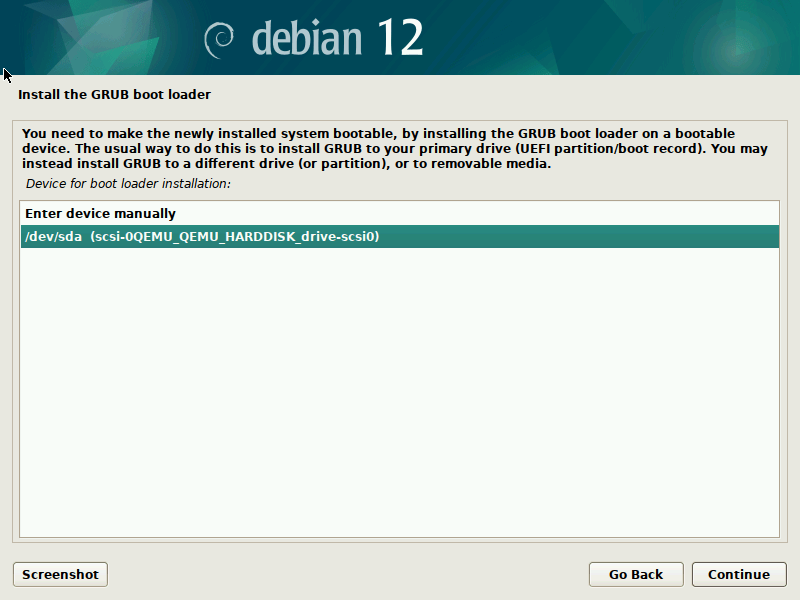
Select the drive on which you want to install the boot loader and click Continue.
Now, the installer will proceed to install the boot loader. This process may take a few moments. Once the boot loader installation is complete, proceed to the next step by pressing the “Continue” button.
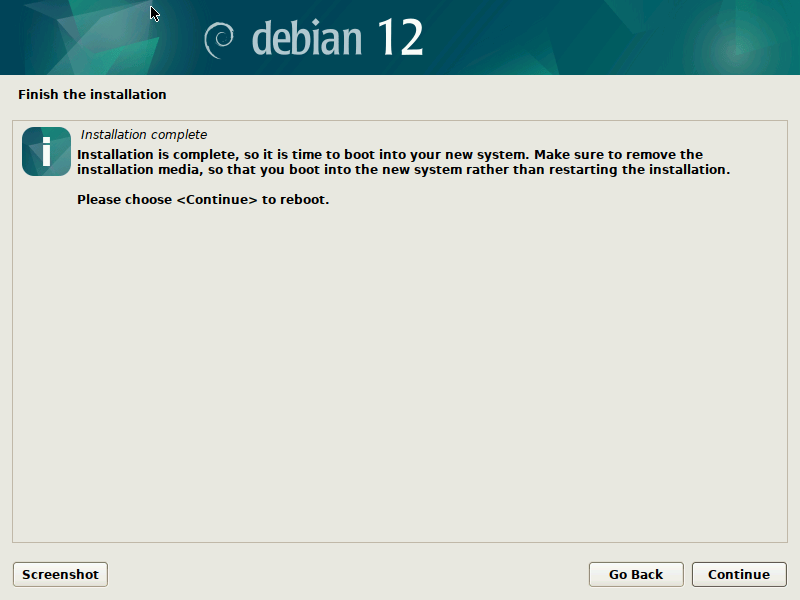
After the installation process is complete, your system will be rebooted. Upon reboot, you will be presented with a login prompt where you can enter the username and password you created during the installation.
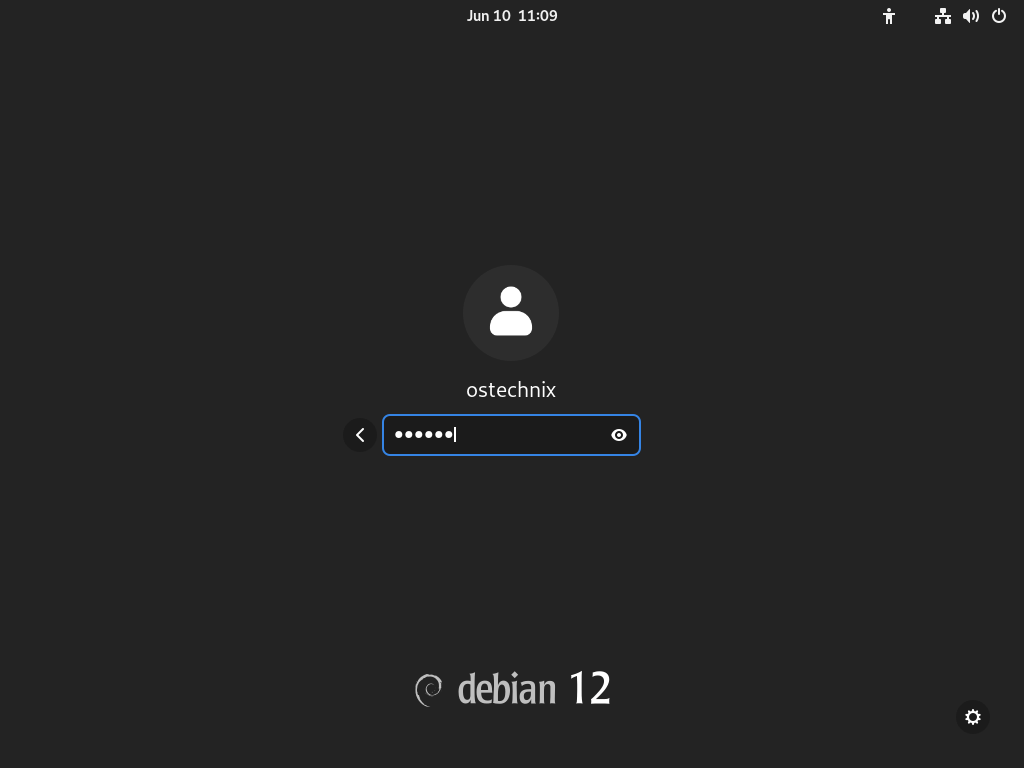
Congratulations! You have successfully installed Debian 12, codenamed Bookworm, with the GNOME desktop environment.
STEP 13 – Debian Initial Setup
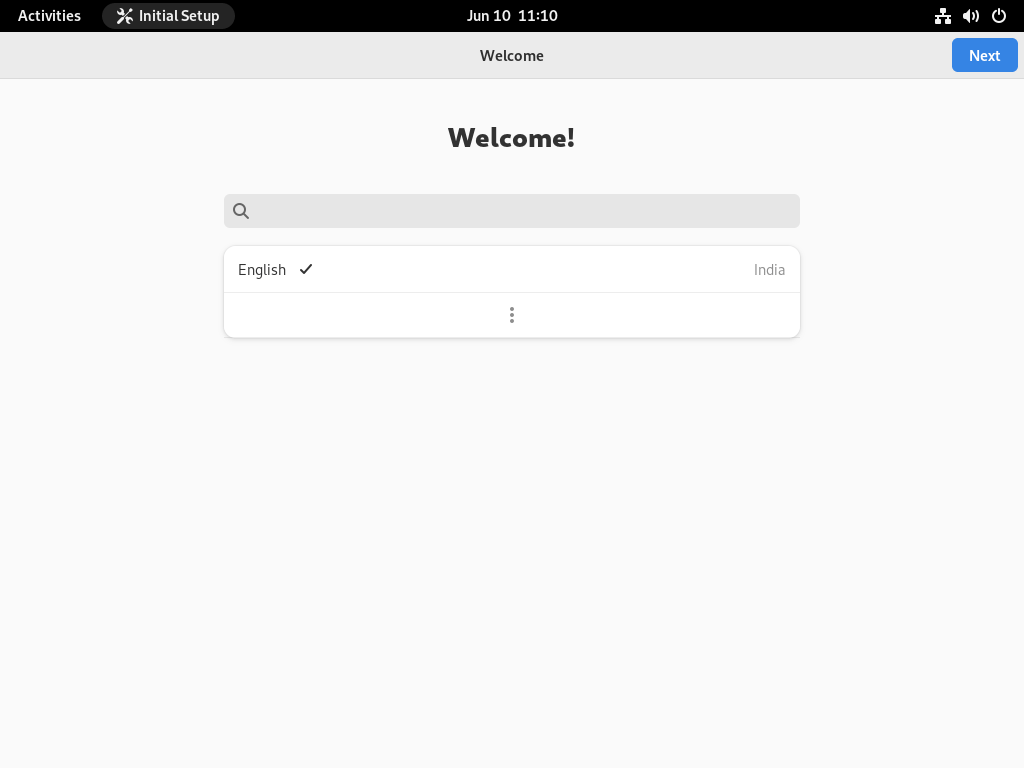
At first login, you will be greeted with the Gnome initial setup welcome message. Click Next to continue.
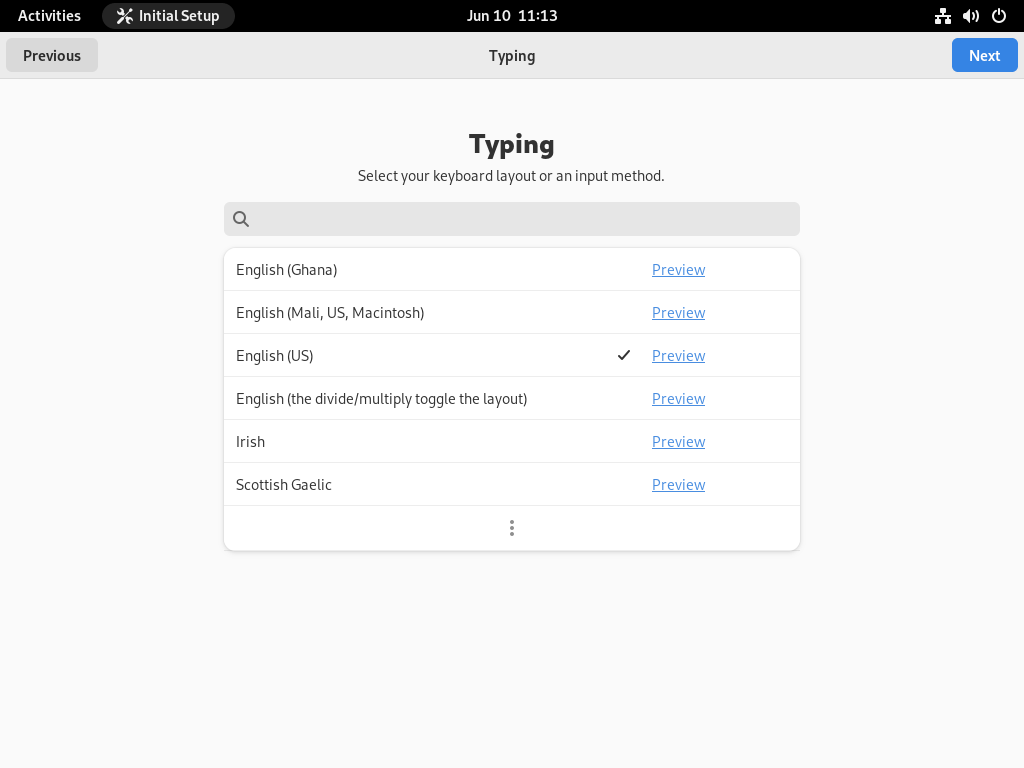
Select your preferred keyboard layout or an input method and click Next.
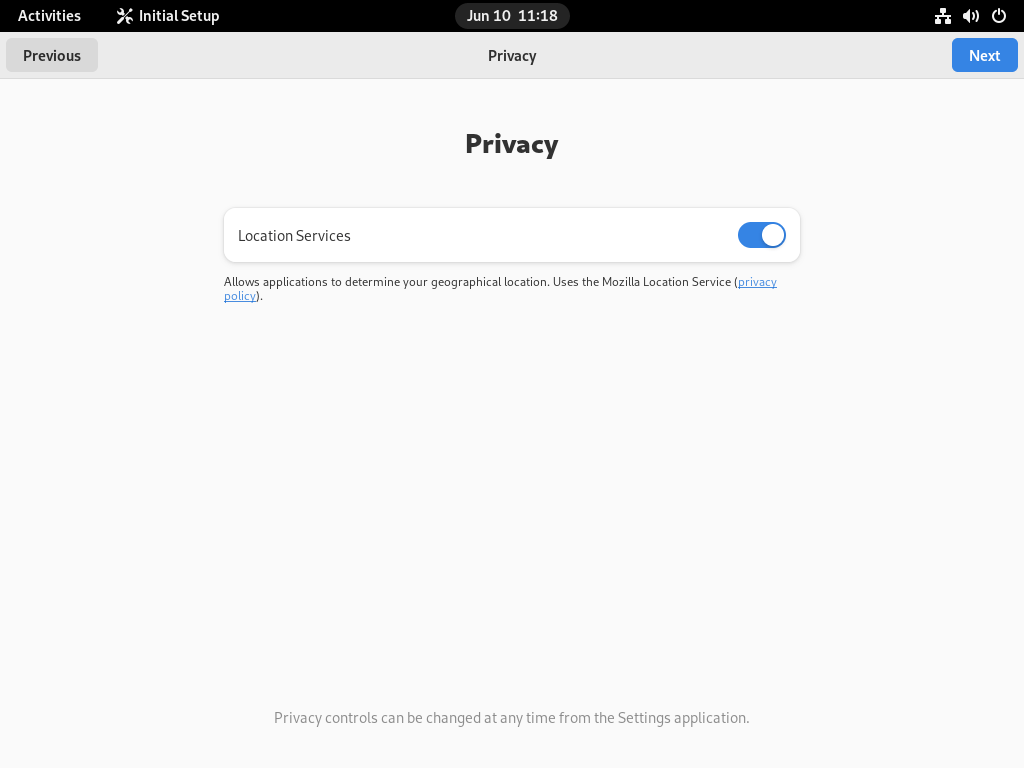
Next, you will be prompted to enable location services on your Debian 12 system. Enabling location services allows applications to determine your current location, providing location-based features and functionalities. By default, the Location Services is enabled. If you want to disable it, toggle the switch to OFF position.
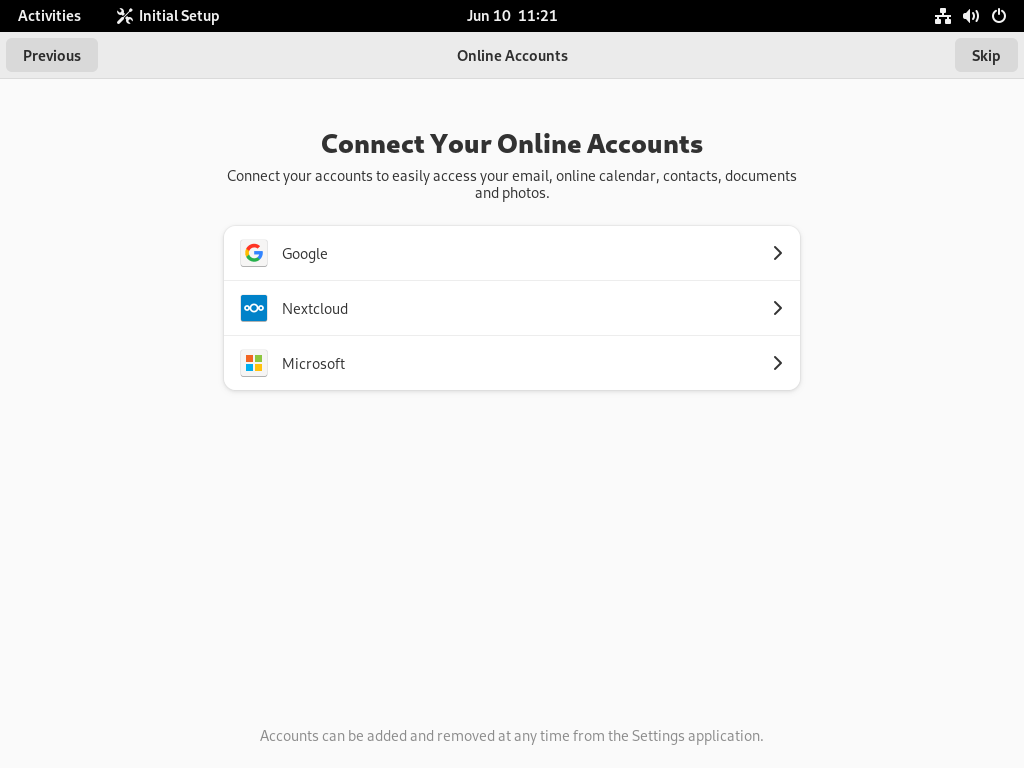
Connect your online accounts, such as Google, Microsoft, if you want to easily access your email, contacts, documents and photos. You can always do this later from Settings wizard. Click “Skip” if you don’t want to connect to these services now.
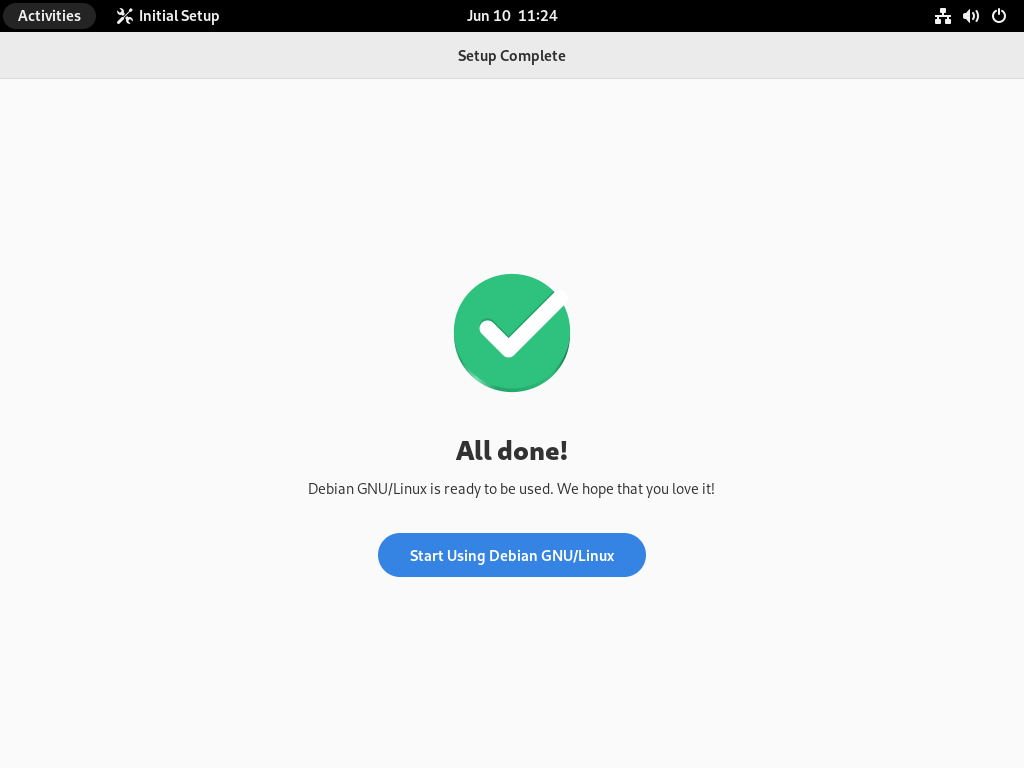
GNOME initial setup is complete! Click “Start Using Debian GNU/Linux” to close this wizard.
STEP 14 – Check Debian Version
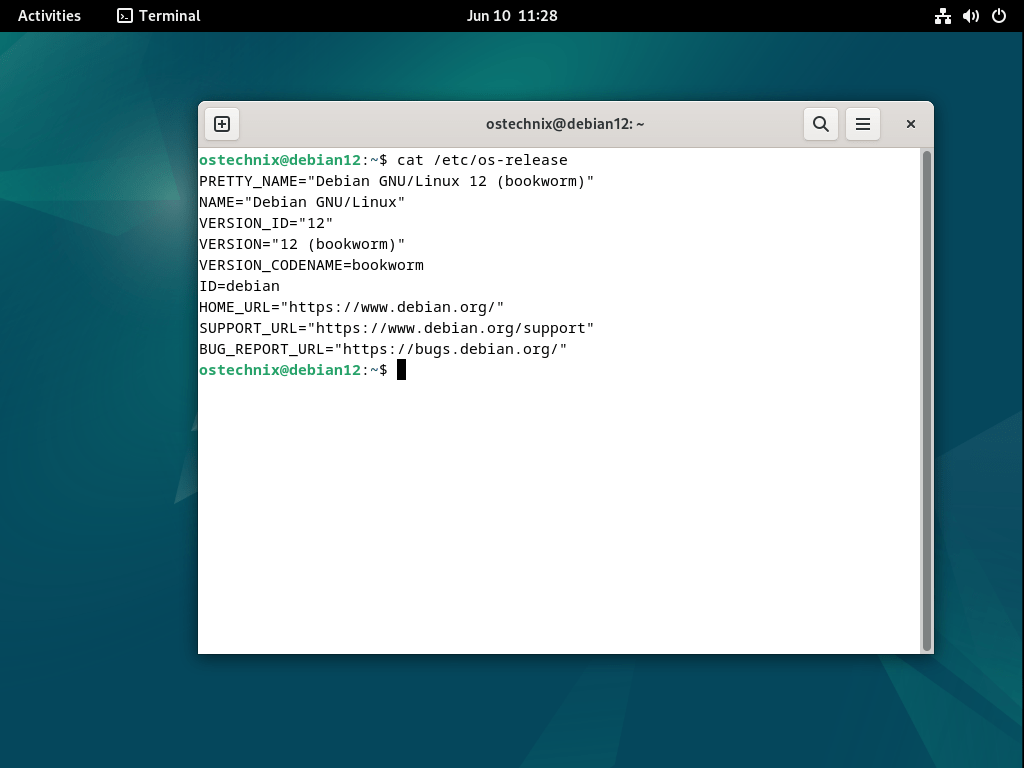
To verify the installed version of Debian, you can run the following command in the terminal:
$ cat /etc/os-release
This command will display information about the Debian release, including the version number, codename, and other relevant details.
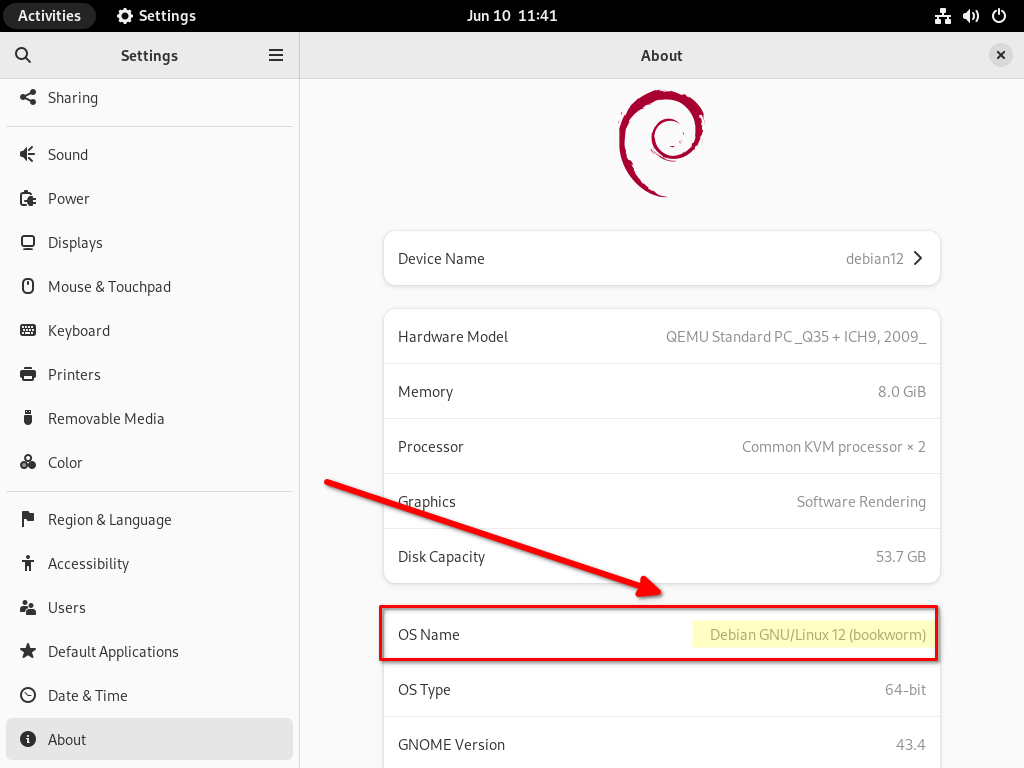
You can also check the installed Debian version from the Settings section.
To check the Debian version from the GUI settings, you can follow these steps:
- Click on the “Activities” button located in the top-left corner of the desktop or press the “Super” key (Windows key) on your keyboard.
- Type “Settings” in the search bar and click on the “Settings” application that appears in the search results.
- In the Settings window, scroll down and click on the “About” section.
- The About section will display various system information, including the Debian version. Look for the version number or codename mentioned in this section to identify your Debian release.
Conclusion
We have successfully completed the installation of Debian 12, codenamed Bookworm. Debian 12 offers a wide range of features and a user-friendly experience, enhanced by the GNOME desktop environment. With its stability, extensive software repository, and the ability to customize your system, Debian 12 provides a robust platform for both desktop and server environments.
Remember to explore the vast selection of software available through Debian’s package manager, apt, to expand the functionality of your system. Regularly updating your Debian installation ensures that you have the latest security patches and software updates.
Related Read:

