ADVERTISEMENT
NextCloud is a free and open-source web suite that provides cloud storage over the network, a fork of ownCloud. It is similar to Dropbox that permits you to store and share your documents, pictures, and videos in a centralized location.
Nextcloud offers clients for desktop operating systems such as Windows, macOS, and Linux and also for Android and iOS.
The opensource version of Nextcloud is released under GNU Affero General Public License. You can get professional support by subscribing to Nextcloud Enterprise.
In this post, we will see how to install Nextcloud on CentOS 8 / RHEL 8.
THIS DOCUMENT IS ALSO AVAILABLE FOR
Prerequisites
Contents
Install Web Server
Install the Apache server and other utilities.
yum install -y @httpd wget bzip2
Install PHP
Install PHP 7.x and its extensions using the yum command.
yum install -y php php-mysqlnd php-common php-json php-xml php-gd php-mbstring php-process php-pecl-zip php-pdo php-intl php-ldap
Install MariaDB
Nextcloud supports SQLite, MySQL/MariaDB, Oracle, or PostgreSQL database. For this demo, we will use MariaDB for Nextcloud.
yum install -y @mariadb
Start Services
Start the Apache and MariaDB service using the following command.
systemctl start httpd systemctl start mariadb
Enable both Apache and MariaDB service to start automatically at system start-up.
systemctl enable httpd systemctl enable mariadb
Install Nextcloud
Create Database
If you are setting up a MariaDB database for the first time, then consider securing it.
READ: Secure MariaDB with mysql_secure_installation
Login to the MariaDB server.
mysql -u root -p
Create a database called nextclouddb.
create database nextclouddb;
Grant permission to nextclouduser on the nextclouddb database on the localhost with a predefined password.
grant all on nextclouddb.* to 'nextclouduser'@'localhost' identified by 'password';
Exit from the MariaDB prompt.
ADVERTISEMENT
quit
Download Nextcloud
Nextcloud provides archives for server admins to download and manually set it up on top of the LAMP stack. Download the latest version of Nextcloud with the below command in the terminal.
cd /tmp/ wget https://download.nextcloud.com/server/releases/latest.tar.bz2
Extract the Nextcloud archive package using the tar command.
tar -jxvf latest.tar.bz2
Move the extracted files to the document root of Apache /var/www/html and then create the data directory to store the user’s data.
mv nextcloud /var/www/html/ mkdir /var/www/html/nextcloud/data
Update ownership of files inside the NextCloud directory so that apache user can write the data into it.
chown -R apache:apache /var/www/html/nextcloud/
SELinux
Run below commands to set the SELinux context to allow NextCloud to write data inside its important directories.
yum install -y policycoreutils-python-utils semanage fcontext -a -t httpd_sys_rw_content_t '/var/www/html/nextcloud/data'
semanage fcontext -a -t httpd_sys_rw_content_t '/var/www/html/nextcloud/config(/.*)?'
semanage fcontext -a -t httpd_sys_rw_content_t '/var/www/html/nextcloud/apps(/.*)?'
semanage fcontext -a -t httpd_sys_rw_content_t '/var/www/html/nextcloud/3rdparty(/.*)?'
semanage fcontext -a -t httpd_sys_rw_content_t '/var/www/html/nextcloud/.htaccess'
semanage fcontext -a -t httpd_sys_rw_content_t '/var/www/html/nextcloud/.user.ini' restorecon -Rv '/var/www/html/nextcloud/'
Firewall
Create a firewall rule to allow access from external machines to the Nextcloud.
firewall-cmd --permanent --add-service=http firewall-cmd --reload
Set Up NextCloud
Open your web browser, point it to:
http://your-ip-add-ress/nextcloud
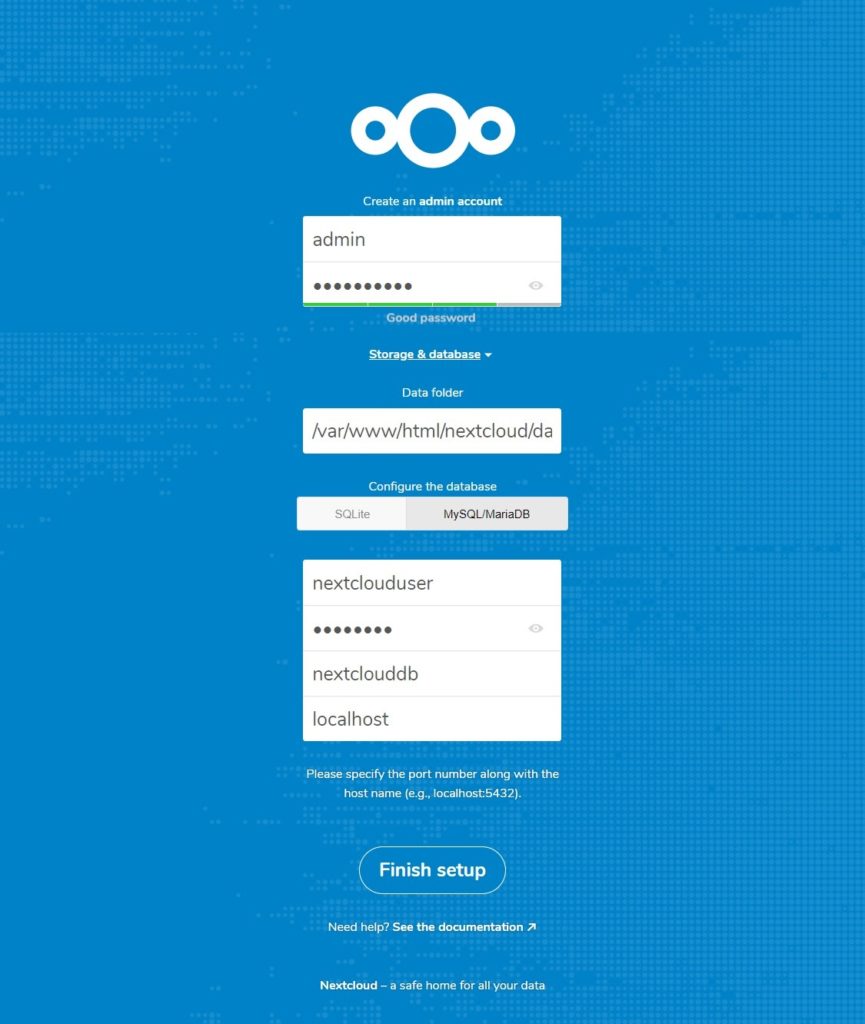
The browser will take you to the NextCloud setup page where you can begin the setup of NextCloud.
Enter user details (username and password) to create an admin account, data folder location where all of your documents get saved, and the database information.
You can choose either SQLite or MySQL/MariaDB as a database for Nextcloud.
To use the SQLite database, you can simply click Finish Setup without entering database information (Using SQLite is not recommended for production use).
To use MariaDB, enter MariaDB database user, password, and database name.
Access Nextcloud
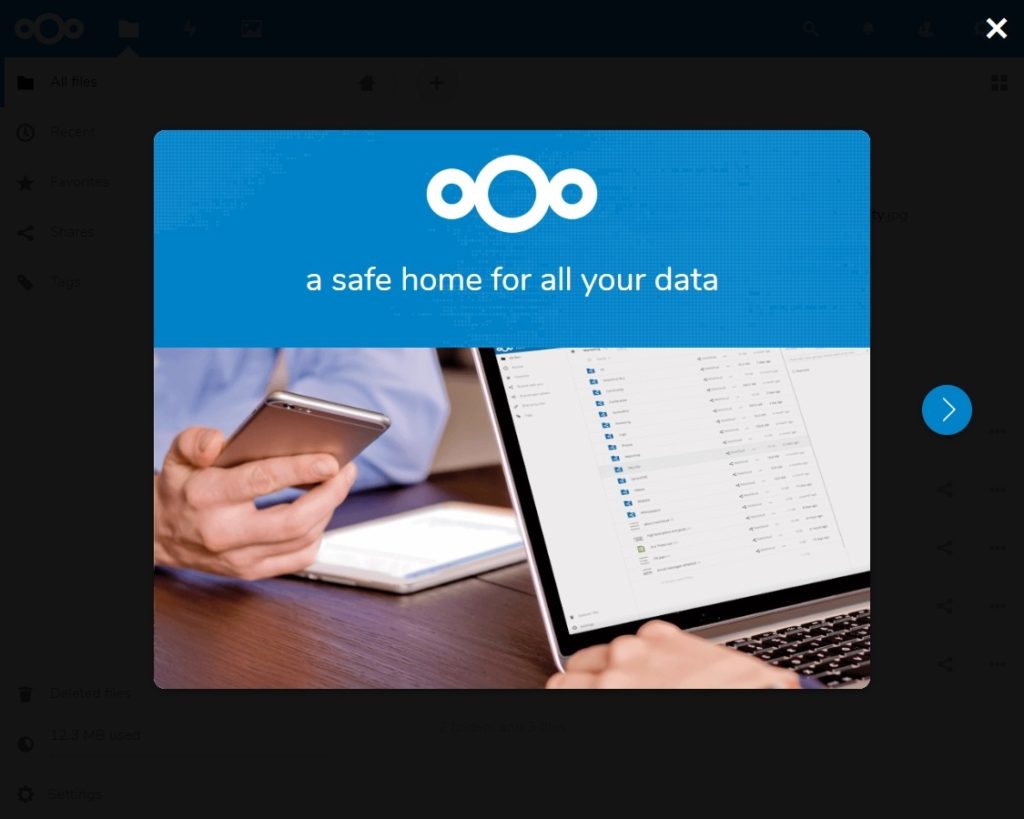
Upon completing the setup, you will get the below page. Click close.
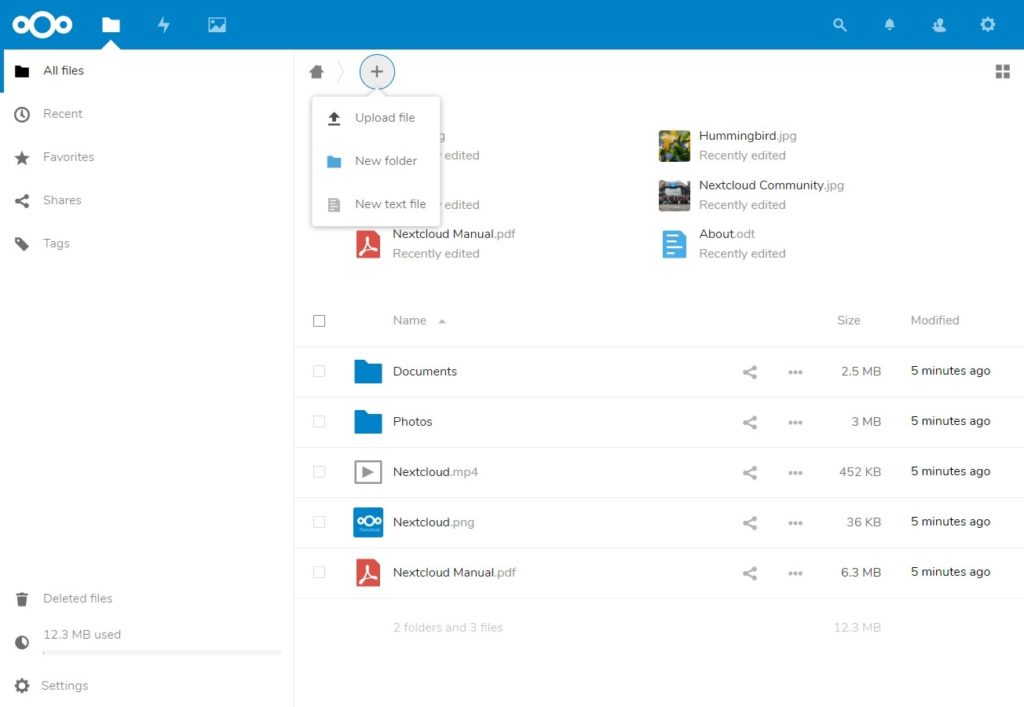
You will now get the below page. You can start uploading your content using the + sign button.
Conclusion
That’s All. You have successfully installed Nextcloud on CentOS 8 / RHEL 8. As a security measure, you can consider enabling HTTPS for Nextcloud.
ADVERTISEMENT

